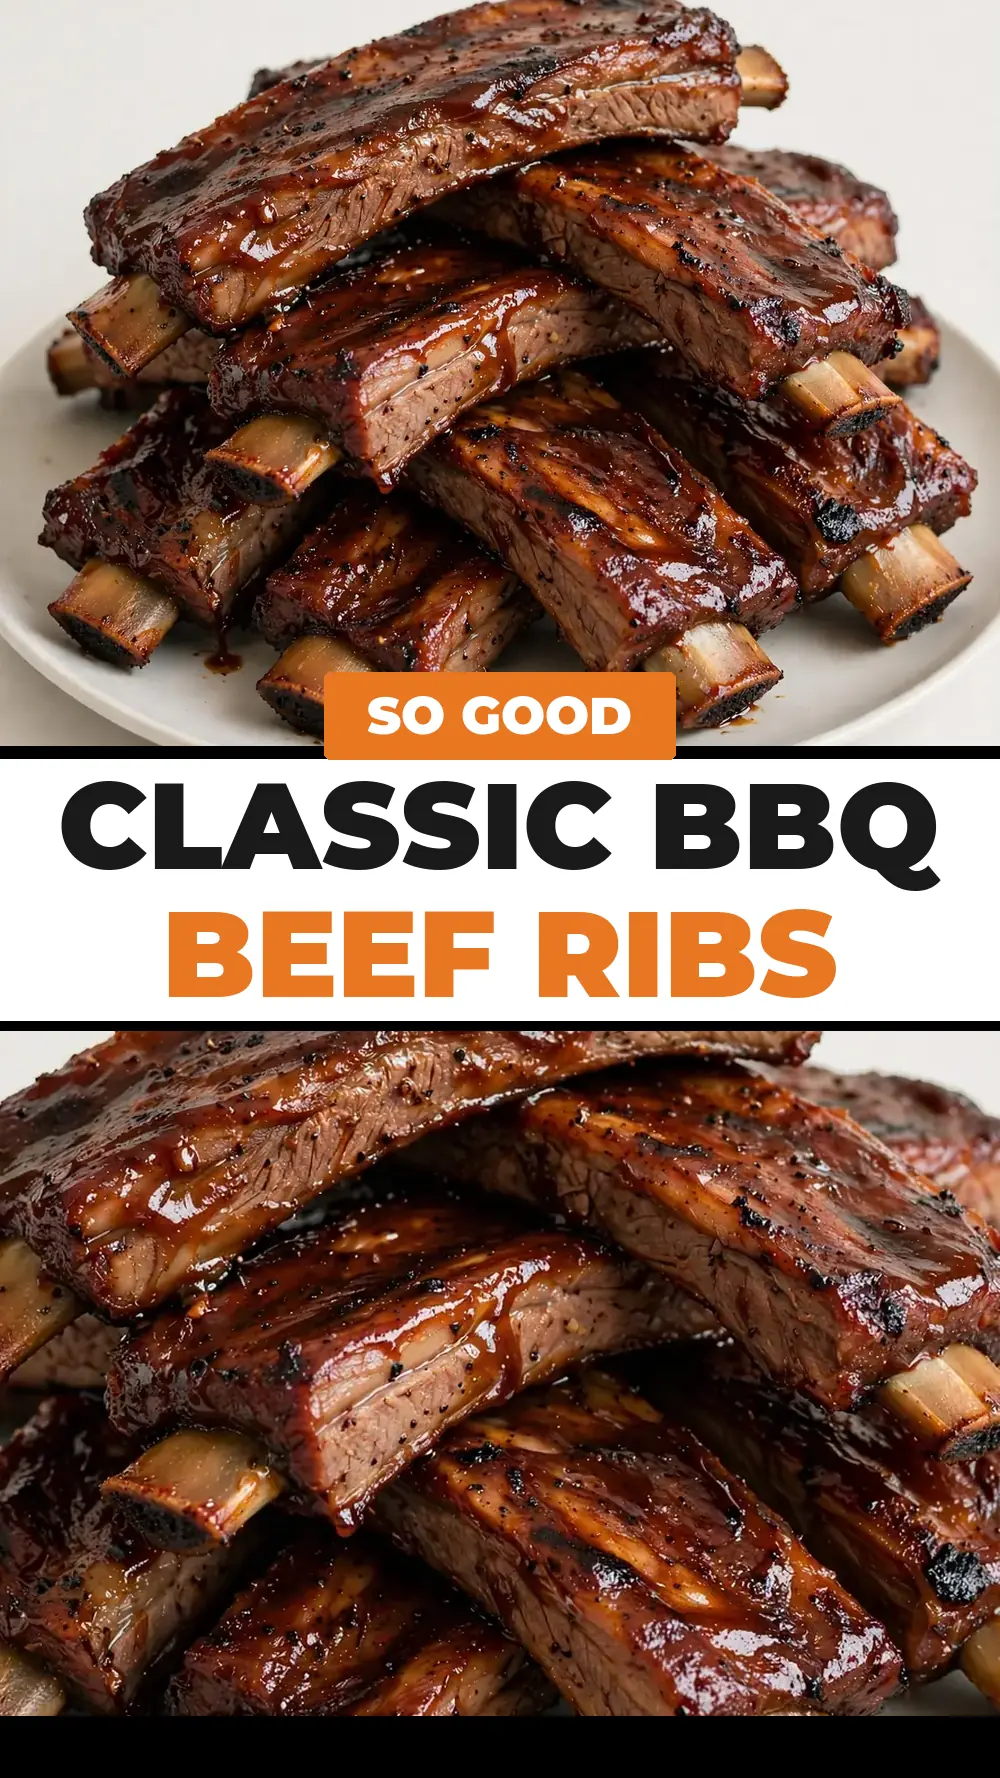
Classic Bbq Beef Ribs
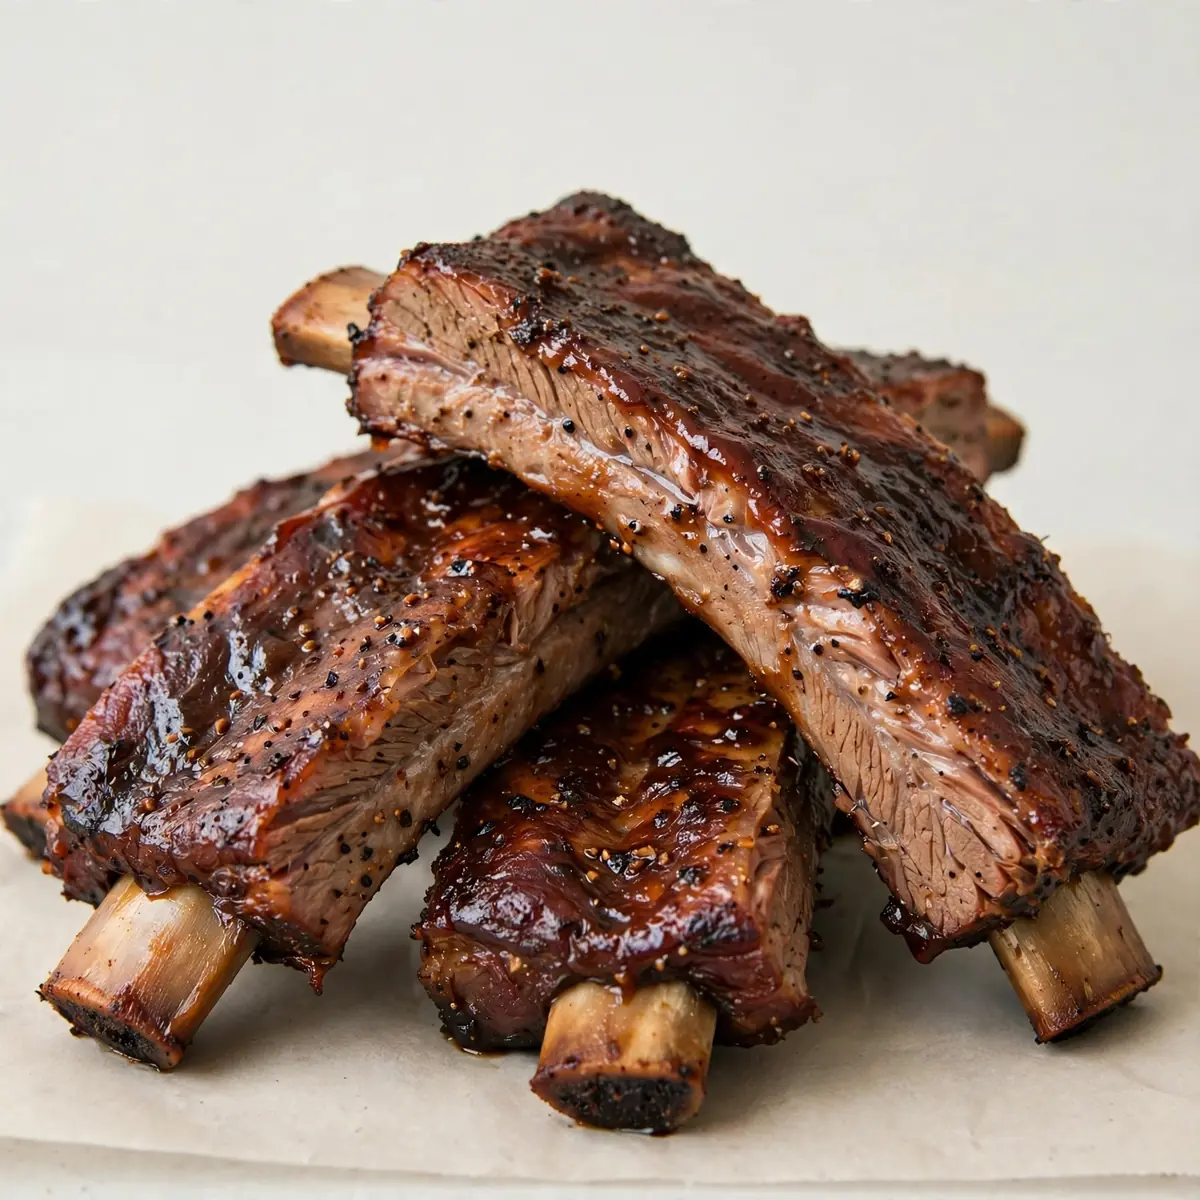
There’s a particular kind of magic that unfolds in the kitchen on a grey Saturday afternoon, when the only agenda is a rack of beef ribs and a low, slow heat. I’ve been making this for over 7 years, and it never disappoints, transforming a simple hunk of meat into a tender, sticky, deeply savoury centrepiece that fills the house with a sweet, smoky perfume. This is not a recipe for speed; it is a project for the soul, a way to slow the clock and coax out flavour with patience and a little bit of love.
Recipe Overview
- Prep Time: 20 minutes (plus 1 hour resting time for the rub)
- Cook Time: 2 hours 30 minutes
- Total Time: 3 hours 50 minutes
- Servings: 4 generous portions
- Difficulty: Medium
Why You’ll Love This Classic BBQ Beef Ribs
- Deep, Layered Flavour: A complex, sweet-and-savoury bark forms on the outside, while the inside stays succulent and rich.
- Incredible Tenderness: Low and slow cooking breaks down the connective tissue, creating ribs that pull apart with the gentlest of tugs, much like the tender beef in Classic Beef Stroganoff With Egg Noodles.
- A Sensory Weekend Project: The process is as rewarding as the eating; the sizzle, the aroma, the anticipation build a truly comforting experience, much like making Thai Basil Beef Stir-Fry.cuisinespicy.com/new-york-style-pizza-dough/”>New York Style Pizza Dough.
- Foolproof for a Crowd: It’s a forgiving dish that looks spectacular when served, making you look like a culinary hero with minimal last-minute fuss, similar to serving a plate of Classic Spinach Artichoke Dip.cuisinespicy.com/bbq-chicken-pizza/”>Bbq Chicken Pizza .cuisinespicy.com/classic-french-toast/”>Classic French Toast .cuisinespicy.com/buffalo-chicken-dip/”>Buffalo Chicken Dip .cuisinespicy.com/creamy-tuscan-chicken-skillet/”>Creamy Tuscan Chicken Skillet.cuisinespicy.com/classic-french-toast/”>Classic French Toast.cuisinespicy.com/buffalo-chicken-dip/”>Buffalo Chicken Dip.
- Perfect for Leftovers: Any remaining meat is fantastic shredded into a sandwich or folded through a pot of baked beans the next day, similar to how leftover patties from a Classic American Cheeseburger can be repurposed.
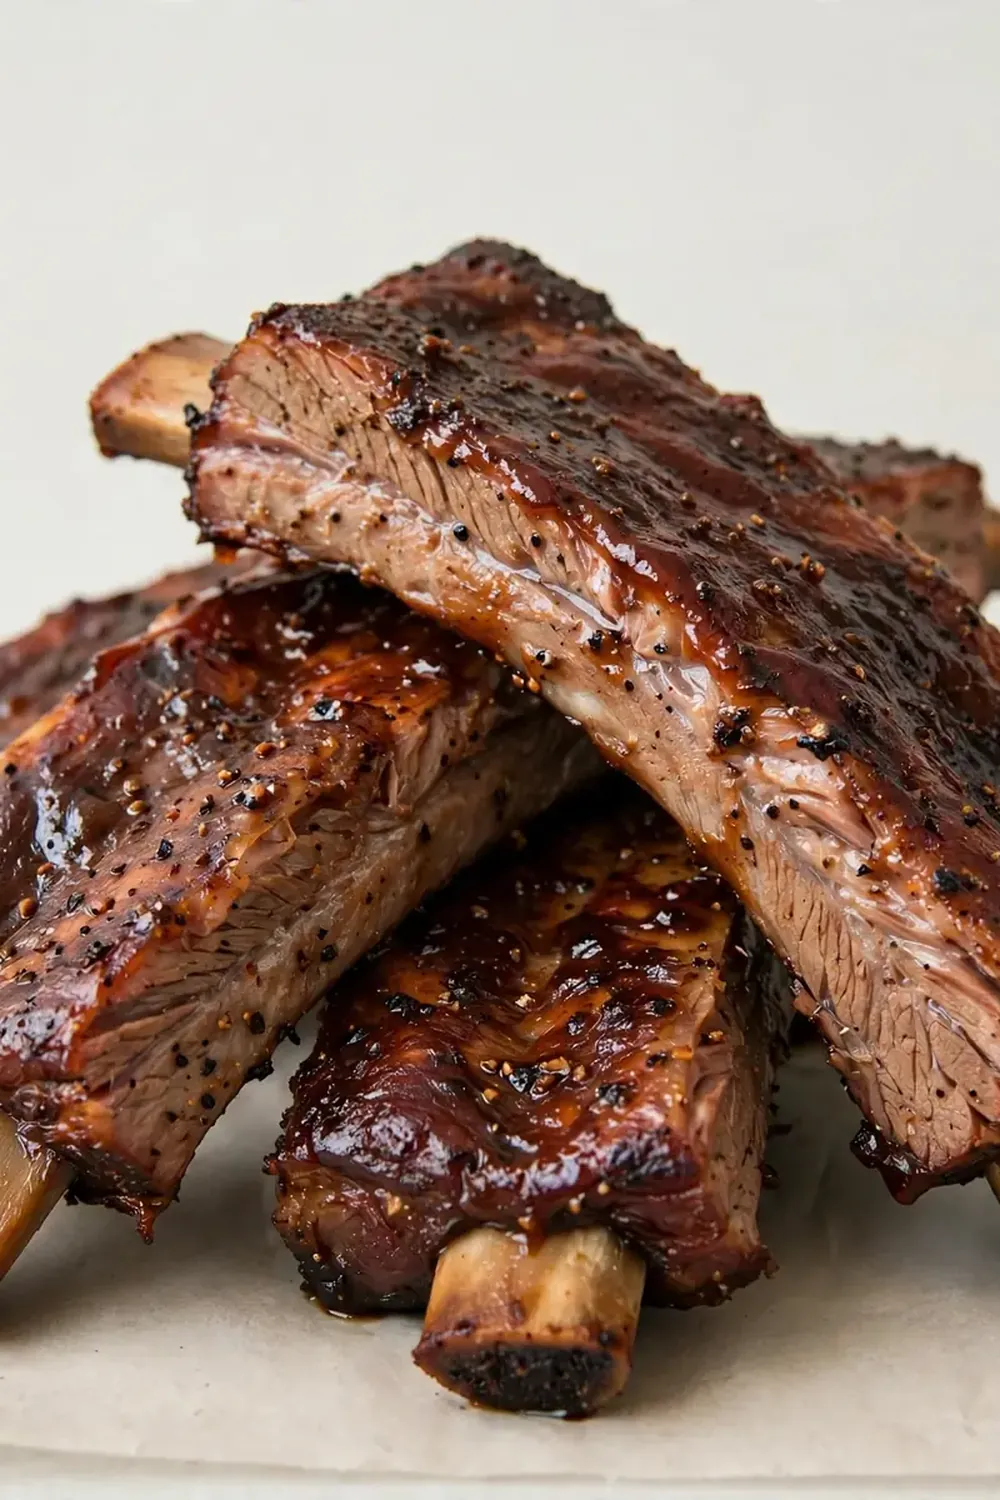
Ingredients You’ll Need
- 2 kg beef back ribs (or short ribs), membrane removed
- 60 ml (¼ cup) tomato ketchup
- 60 ml (¼ cup) apple cider vinegar
- 60 ml (¼ cup) Worcestershire sauce (ensure halal-certified)
- 60 g (¼ cup) dark brown sugar, packed
- 2 tbsp smoked paprika
- 1 tbsp garlic powder
- 1 tbsp onion powder
- 1 tsp cayenne pepper (adjust to taste)
- 1 tsp ground black pepper
- 1 tbsp sea salt
- 300 ml (1 ¼ cups) beef stock
- 2 tbsp olive oil
Tip: For the most aromatic result, toast the smoked paprika in a dry pan for 30 seconds until it darkens slightly and releases its oils before mixing the rub. This simple step deepens the smokiness immensely.
How to Make Classic BBQ Beef Ribs
- Prepare the Ribs and Dry Rub: Pat the ribs dry with kitchen paper. In a small bowl, mix the smoked paprika, garlic powder, onion powder, cayenne, black pepper, and salt. Rub this mixture all over the ribs, massaging it into every crevice. You should hear the salt granules crackle slightly as you work. Wrap the ribs tightly in cling film and let them rest in the fridge for at least one hour — this allows the salt to penetrate the meat.
- Build the Braising Liquid: In a medium saucepan, combine the ketchup, apple cider vinegar, Worcestershire sauce, brown sugar, and beef stock. Bring it to a gentle simmer over medium heat, stirring until the sugar dissolves completely. The liquid will turn a deep, glossy mahogany and smell intensely sweet and tangy. Remove from the heat and set aside.
- Sear the Ribs: Preheat a large, heavy-based ovenproof pot or Dutch oven over a high flame. Add the olive oil and wait until it shimmers. Carefully place the ribs in the pot, working in batches if needed to avoid overcrowding. Sear for 2-3 minutes per side until a deep, dark brown crust forms. The sizzle should be loud and vigorous, and the smell of caramelising spices will fill the kitchen.
- Deglaze and Braise: Pour the braising liquid over the seared ribs. The liquid should come about halfway up the sides of the meat. Bring the pot to a gentle bubble, then cover with a tight-fitting lid. Transfer the pot to a preheated oven at 160°C (320°F). You will hear a gentle, rhythmic simmering sound as the ribs cook.
- Slow Cook for Tenderness: Let the ribs cook for 2 hours undisturbed. After this time, check them by piercing the thickest part with a skewer — it should slide through with very little resistance, and the meat will have begun to pull back from the bone ends, revealing a centimetre or two of clean bone.
- Glaze and Finish: Carefully remove the lid. Increase the oven temperature to 200°C (400°F). Using a basting brush, generously coat the tops of the ribs with the now-thickened, sticky braising liquid from the pot. Return the pot to the oven, uncovered, for a final 15-20 minutes. The sauce will reduce to a dark, tacky glaze, and the edges of the meat will char slightly, creating a beautiful, caramelised bark. The aroma at this stage is intoxicatingly rich.
Tips From My Kitchen
- Don’t Skip the Membrane: That tough, silvery skin on the back of the ribs will never break down, turning your tender meat into a chewy mess. Use a paper towel to get a grip and peel it off in one sheet before you start. It’s a small effort for a massive textural reward.
- Rest the Rub: That hour in the fridge isn’t just for flavour penetration. It also allows the surface of the meat to dry out slightly, which is crucial for a good sear. A wet surface steams rather than browns, robbing you of that deep, complex crust.
- Low and Slow is Law: Don’t be tempted to turn up the heat to speed things up. The magic of breaking down tough collagen into silky gelatin happens at a steady, low temperature. Rushing it will leave you with tough, dry ribs.
- Baste with the Braising Liquid, Not a Separate Sauce: The liquid in the pot is already packed with flavour from the meat and spices. Using it for a final glaze concentrates those flavours and creates a perfect, cohesive coating.
- Let Them Rest: Once the ribs come out of the oven, let them sit in the pot, uncovered, for 10 minutes. This allows the juices to redistribute evenly throughout the meat. Cutting into them immediately will cause all that precious moisture to run out onto the board.
Equipment You’ll Need
- Large, heavy-based Dutch oven or ovenproof pot with a lid
- Meat thermometer (helpful for checking oven temperature accuracy)
- Tongs
- Basting brush
- Skewer or sharp knife for testing tenderness
Common Mistakes to Avoid
- Skipping the Sear: The Maillard reaction from searing is the bedrock of this dish’s flavour. Without it, the ribs will be grey and taste flat. Make sure the pot is screaming hot before the meat goes in, and don’t move it for a few minutes to let the crust form.
- Overcrowding the pot: If the ribs are crammed in, they will steam rather than sear. This creates a muddy, watery result instead of a rich, concentrated bark. Cook them in batches if necessary, or use a larger pot.
- Opening the Oven Door Too Often: Every time you open the door, the oven temperature drops significantly, extending the cooking time and potentially drying out the meat. Trust the process and only check for tenderness after the initial two hours.
Delicious Variations to Try
- Spicy Version: Add a finely chopped red chilli to the braising liquid and increase the cayenne pepper in the dry rub to a full tablespoon for a serious kick of heat.
- Vegetarian/Vegan Option: Swap the beef ribs for thick slabs of portobello mushrooms or a whole head of cauliflower. Use vegetable stock and a teaspoon of liquid smoke in the braising liquid, and reduce the cooking time to 45 minutes at 180°C (350°F).
- Different Protein: This method works beautifully with lamb ribs or even oxtail. Lamb will cook slightly faster, so begin checking for tenderness after 1 hour 30 minutes.
What to Serve With Classic BBQ Beef Ribs
- A crisp, tangy coleslaw with a mustard vinaigrette to cut through the richness.
- Soft, fluffy cornbread or crusty bread to mop up the glossy sauce.
- Simple roasted potatoes with rosemary and garlic.
- A fresh green salad with a sharp lemon dressing.
Still hungry for ideas? You might also love Slow Cooker Bbq Beef, Garlic Butter Honey Bbq Beef Tacos from our sister kitchens.
Frequently Asked Questions
Classic BBQ Beef Ribs
Ingredients
Method
- Prepare the Ribs and Dry Rub: Pat the ribs dry with kitchen paper. In a small bowl, mix the smoked paprika, garlic powder, onion powder, cayenne, black pepper, and salt. Rub this mixture all over the ribs, massaging it into every crevice. You should hear the salt granules crackle slightly as you work. Wrap the ribs tightly in cling film and let them rest in the fridge for at least one hour — this allows the salt to penetrate the meat.
- Build the Braising Liquid: In a medium saucepan, combine the ketchup, apple cider vinegar, Worcestershire sauce, brown sugar, and beef stock. Bring it to a gentle simmer over medium heat, stirring until the sugar dissolves completely. The liquid will turn a deep, glossy mahogany and smell intensely sweet and tangy. Remove from the heat and set aside.
- Sear the Ribs: Preheat a large, heavy-based ovenproof pot or Dutch oven over a high flame. Add the olive oil and wait until it shimmers. Carefully place the ribs in the pot, working in batches if needed to avoid overcrowding. Sear for 2-3 minutes per side until a deep, dark brown crust forms. The sizzle should be loud and vigorous, and the smell of caramelising spices will fill the kitchen.
- Deglaze and Braise: Pour the braising liquid over the seared ribs. The liquid should come about halfway up the sides of the meat. Bring the pot to a gentle bubble, then cover with a tight-fitting lid. Transfer the pot to a preheated oven at 160°C (320°F). You will hear a gentle, rhythmic simmering sound as the ribs cook.
- Slow Cook for Tenderness: Let the ribs cook for 2 hours undisturbed. After this time, check them by piercing the thickest part with a skewer — it should slide through with very little resistance, and the meat will have begun to pull back from the bone ends, revealing a centimetre or two of clean bone.
- Glaze and Finish: Carefully remove the lid. Increase the oven temperature to 200°C (400°F). Using a basting brush, generously coat the tops of the ribs with the now-thickened, sticky braising liquid from the pot. Return the pot to the oven, uncovered, for a final 15-20 minutes. The sauce will reduce to a dark, tacky glaze, and the edges of the meat will char slightly, creating a beautiful, caramelised bark. The aroma at this stage is intoxicatingly rich.
Notes
Friends always ask me for this recipe after trying it at dinner parties, and I always tell them the same thing: the real secret is in the stillness of the day you choose to make it. There is a profound satisfaction in watching a rough, raw ingredient transform into something so tender and glorious through nothing more than heat and time. I would love to hear how your own weekend project turns out — share your experience in the comments below, and if you are looking for another comforting, hands-on meal, you might also enjoy our Saucy Halal Meatball Subs Recipe or a batch of Homemade Bbq Chicken Pizza Halal for a different take on that smoky flavour profile.