Classic Roast Chicken With Herbs
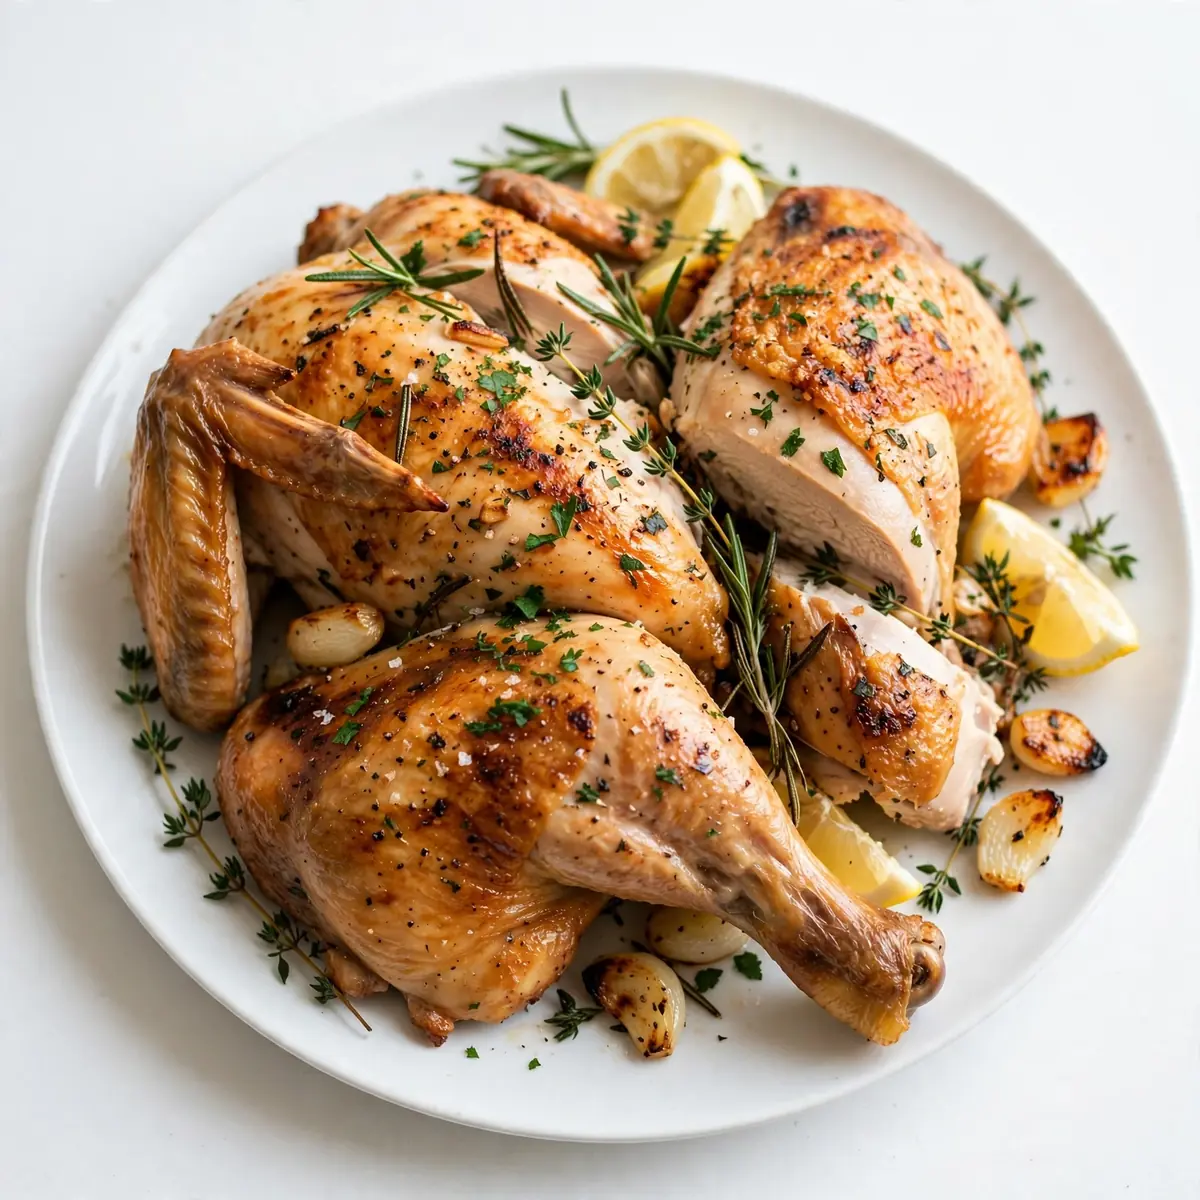
There’s something deeply satisfying about settling in for a weekend afternoon with a whole chicken, a bundle of fresh herbs, and the promise of a kitchen slowly filling with the scent of roasting garlic and lemon. This is my go-to recipe when I need something that feels like a proper project but rewards you with the most tender, golden bird imaginable. Let’s slow down, get our hands a little messy, and create a roast chicken that tastes like pure comfort.
Recipe Overview
- Prep Time: 25 minutes
- Cook Time: 1 hour 30 minutes
- Total Time: 1 hour 55 minutes (plus 20 minutes resting)
- Servings: 4-6
- Difficulty: Intermediate
Why You’ll Love This Classic Roast Chicken with Herbs
- The Aroma: The scent of thyme, rosemary, and garlic mingling as the chicken roasts will fill your entire home with a cosy, welcoming fragrance.
- Incredible Texture: This method delivers shatteringly crisp, golden skin while keeping the breast meat impossibly juicy and the dark meat tender.
- Simple Ingredients, Big Flavour: You don’t need a long list of exotic items. Just a good bird, butter, and fresh herbs create something truly memorable.
- One-Pan Wonder: The vegetables roast beneath the chicken, soaking up all the glorious juices, meaning less washing up and a built-in side dish.
- Weekend Ritual: This isn’t a midweek rush. It’s an excuse to potter in the kitchen, enjoy a cup of tea while it roasts, and savour the process as much as the meal.
Ingredients You’ll Need
- 1.8 kg whole chicken (free-range, if possible)
- 3 tablespoons unsalted butter, softened
- 4 cloves garlic, minced
- 1 tablespoon fresh thyme leaves, finely chopped
- 1 tablespoon fresh rosemary, finely chopped
- 1 tablespoon fresh parsley, finely chopped
- 1 teaspoon sea salt
- ½ teaspoon freshly ground black pepper
- 1 lemon, quartered
- 1 onion, peeled and quartered
- 3 carrots, peeled and cut into chunks
- 3 celery sticks, cut into chunks
- 250 ml chicken stock (low sodium)
- 2 tablespoons olive oil
Tip: For the best flavour, bring the chicken out of the fridge 30 minutes before you start. This helps it cook more evenly and prevents the skin from tearing when you handle it.
How to Make Classic Roast Chicken with Herbs
- Preheat and Prepare the Bird: Preheat your oven to 200°C (400°F). Pat the chicken dry all over with kitchen paper — this is essential for crisp skin. You want the surface to feel tacky, not slick. Place the chicken in a large roasting tin or a cast-iron skillet.
- Make the Herb Butter: In a small bowl, combine the softened butter, minced garlic, thyme, rosemary, parsley, salt, and pepper. Mash it together with a fork until it forms a fragrant, green-flecked paste. The smell at this point is a promise of what’s to come.
- Season Under and Over the Skin: Gently slide your fingers under the skin of the chicken breast, loosening it from the flesh without tearing it. Take half the herb butter and push it directly onto the breast meat, spreading it evenly. You’ll feel the cool skin lift away. Rub the remaining butter all over the outside of the chicken, covering the legs and wings. The bird should now look glossy and speckled with herbs.
- Stuff and Surround: Stuff the cavity of the chicken with the quartered lemon and onion. This will steam from the inside, keeping the meat moist and adding a subtle citrus note. Scatter the carrot and celery chunks around the chicken in the tin. Pour the chicken stock around the vegetables — not over the bird — and drizzle the vegetables with the olive oil.
- Roast to Golden Perfection: Place the tin in the preheated oven. Roast for 1 hour and 15 minutes to 1 hour 30 minutes. You’ll know it’s ready when the skin is a deep, burnished gold and the juices run clear when you pierce the thickest part of the thigh with a skewer. The kitchen will smell of roasted garlic and herbs. If the skin is browning too quickly, tent the chicken loosely with foil for the final 15 minutes.
- Rest Before Carving: This is the hardest step. Remove the chicken from the oven and let it rest in the tin for at least 20 minutes. The internal temperature will continue to rise, and the juices will redistribute. You’ll hear a gentle sizzle as it settles. Do not skip this — carving immediately will release all those precious juices onto the board, leaving you with dry meat.
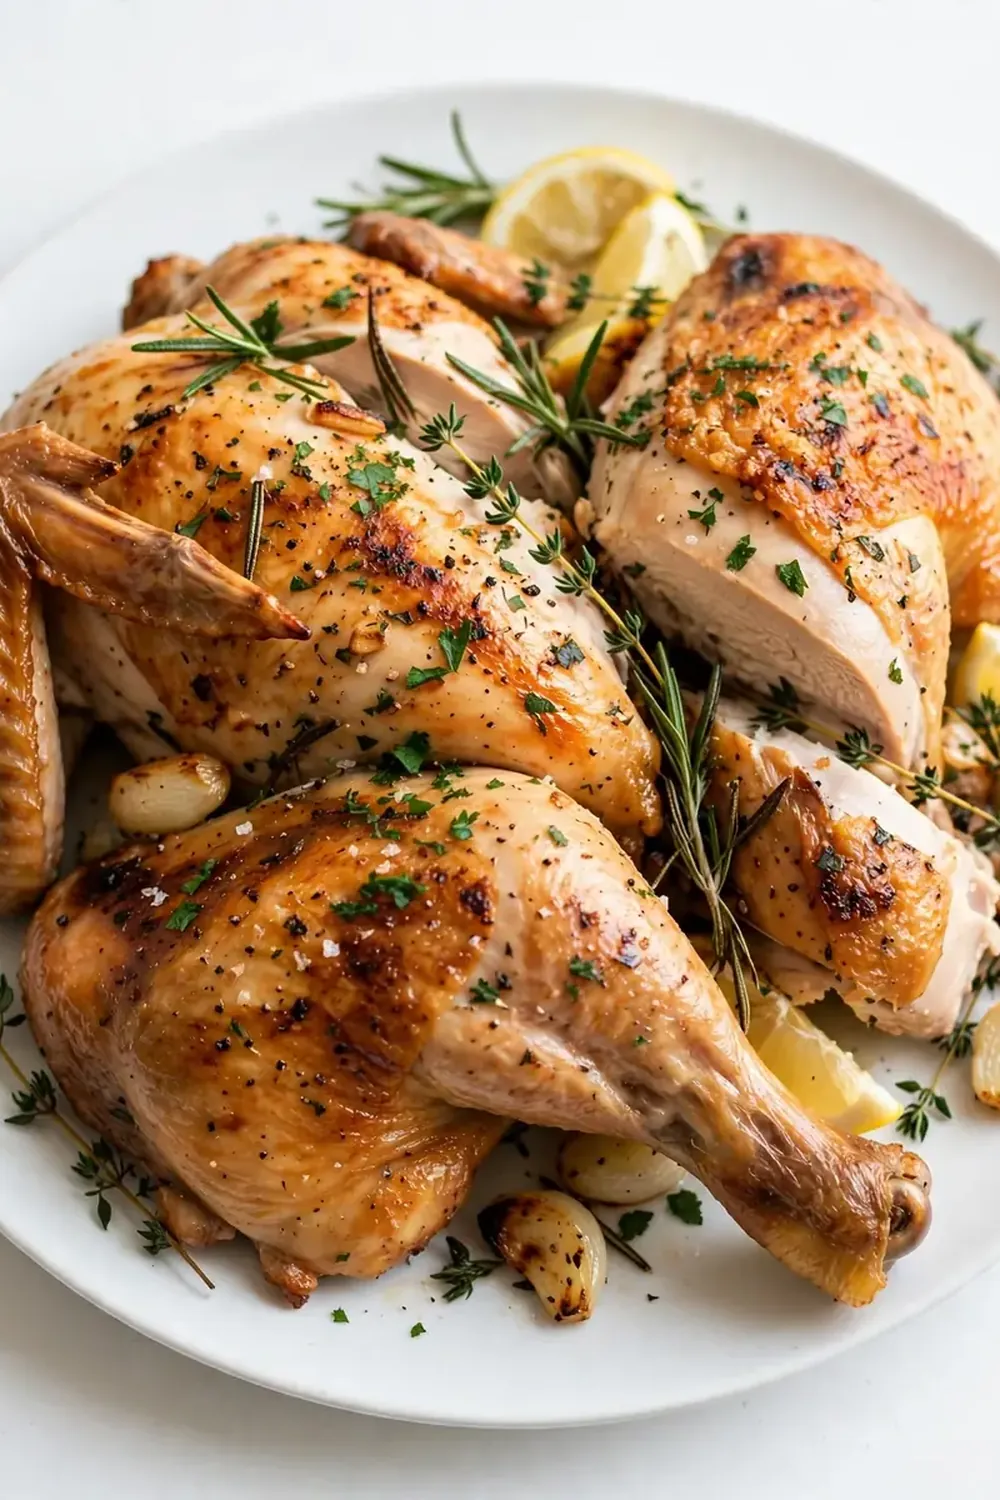
- Carve and Serve: Transfer the chicken to a carving board. Spoon the roasted vegetables onto a serving platter. Carve the chicken at the table for a truly satisfying presentation. The skin should be so crisp it shatters under the knife, revealing steaming, tender meat beneath.
Tips From My Kitchen
- Dry the Bird Thoroughly: Moisture is the enemy of crisp skin. After patting the chicken dry with kitchen paper, leave it uncovered in the fridge for an hour or two if you have time. This further dries the skin, guaranteeing that satisfying crackle. The skin should feel like parchment, not damp cloth.
- Use a Meat Thermometer: Guessing doneness is risky. An instant-read thermometer is your best friend. Insert it into the thickest part of the thigh without touching bone. You’re looking for 74°C (165°F). This removes all doubt and ensures perfectly cooked chicken every time.
- Don’t Skip the Resting Time: I know the aroma is maddening, but resting is non-negotiable. The heat causes the meat’s fibres to tighten and squeeze out juices. Resting allows them to relax and reabsorb that liquid, resulting in a moist, tender bird. Cover it loosely with foil and let it sit.
- Truss for Even Cooking (Optional but Helpful): Tying the legs together with kitchen string and tucking the wing tips under the body creates a compact shape that roasts more evenly. It also prevents the wing tips from burning. It takes 30 seconds and makes a noticeable difference.
- Make a Pan Gravy: Don’t let those juices in the tin go to waste. After removing the chicken, place the tin on the hob over medium heat. Sprinkle in a tablespoon of plain flour and whisk for a minute to cook out the raw flour taste. Slowly pour in 250ml of chicken stock, scraping up all the browned bits from the bottom. Simmer for a few minutes until thickened and glossy. Season to taste.
Equipment You’ll Need
- Large roasting tin or cast-iron skillet (big enough for the chicken and vegetables)
- Sharp chef’s knife and sturdy cutting board
- Small mixing bowl for the herb butter
- Kitchen paper for drying the chicken
- Kitchen string for trussing (optional)
- Instant-read meat thermometer (recommended)
Common Mistakes to Avoid
- Overcrowding the pan: If your roasting tin is too small, the vegetables will steam rather than roast, becoming soggy instead of caramelised. Use a tin large enough that the vegetables sit in a single layer around the chicken. If they’re piled high, they’ll release too much water and spoil the crispness of the bird’s skin.
- Wrong temperature: Roasting at too low a temperature (below 180°C) will dry out the meat before the skin crisps. Too high (above 220°C) will burn the skin while leaving the inside undercooked. Stick to 200°C for the perfect balance of a golden exterior and juicy interior.
- Skipping the rest time: Carving a chicken straight from the oven is a common mistake. The internal temperature is still climbing, and the juices are active. If you cut into it immediately, you’ll watch those precious juices pool on your carving board. A 20-minute rest under foil makes all the difference between a dry and a succulent chicken.
Delicious Variations to Try
- Spicy Version: Add 1 teaspoon of smoked paprika and ½ teaspoon of cayenne pepper to the herb butter. For an extra kick, tuck a halved red chilli into the cavity alongside the lemon. The heat will mellow as it roasts, leaving a warm, aromatic finish.
- Vegetarian/Vegan Option: For a plant-based take, substitute the chicken with a whole cauliflower. Blanch the cauliflower for 5 minutes, then coat it with the same herb butter (use vegan butter or olive oil). Roast at 200°C for 45-50 minutes until deeply golden and tender. Serve with the same roasted vegetables and a rich mushroom gravy.
- Different Protein: This herb butter method works beautifully with other birds. Try it with a 2kg free-range turkey crown for a smaller roast, or use it on a whole chicken for a different flavour profile. You can also use it on chicken thighs or drumsticks — just reduce the cooking time to 35-40 minutes.
What to Serve With Classic Roast Chicken with Herbs
- Creamy mashed potatoes to soak up the pan juices
- Buttered green beans or roasted asparagus for a fresh contrast
- A simple side of Classic Halal Chicken Caesar Salad for a lighter accompaniment
- Crusty bread to mop up every last bit of gravy
- For dessert, something light like a Fresh Yogurt Parfait Recipe Breakfast can be transformed into a simple after-dinner treat
Frequently Asked Questions
Classic Roast Chicken with Herbs
Ingredients
Method
- Preheat and Prepare the Bird: Preheat your oven to 200°C (400°F). Pat the chicken dry all over with kitchen paper — this is essential for crisp skin. You want the surface to feel tacky, not slick. Place the chicken in a large roasting tin or a cast-iron skillet.
- Make the Herb Butter: In a small bowl, combine the softened butter, minced garlic, thyme, rosemary, parsley, salt, and pepper. Mash it together with a fork until it forms a fragrant, green-flecked paste. The smell at this point is a promise of what's to come.
- Season Under and Over the Skin: Gently slide your fingers under the skin of the chicken breast, loosening it from the flesh without tearing it. Take half the herb butter and push it directly onto the breast meat, spreading it evenly. You'll feel the cool skin lift away. Rub the remaining butter all over the outside of the chicken, covering the legs and wings. The bird should now look glossy and speckled with herbs.
- Stuff and Surround: Stuff the cavity of the chicken with the quartered lemon and onion. This will steam from the inside, keeping the meat moist and adding a subtle citrus note. Scatter the carrot and celery chunks around the chicken in the tin. Pour the chicken stock around the vegetables — not over the bird — and drizzle the vegetables with the olive oil.
- Roast to Golden Perfection: Place the tin in the preheated oven. Roast for 1 hour and 15 minutes to 1 hour 30 minutes. You'll know it's ready when the skin is a deep, burnished gold and the juices run clear when you pierce the thickest part of the thigh with a skewer. The kitchen will smell of roasted garlic and herbs. If the skin is browning too quickly, tent the chicken loosely with foil for the final 15 minutes.
- Rest Before Carving: This is the hardest step. Remove the chicken from the oven and let it rest in the tin for at least 20 minutes. The internal temperature will continue to rise, and the juices will redistribute. You'll hear a gentle sizzle as it settles. Do not skip this — carving immediately will release all those precious juices onto the board, leaving you with dry meat.
- Carve and Serve: Transfer the chicken to a carving board. Spoon the roasted vegetables onto a serving platter. Carve the chicken at the table for a truly satisfying presentation. The skin should be so crisp it shatters under the knife, revealing steaming, tender meat beneath.
Notes
I hope this recipe becomes a cherished part of your weekend cooking. My husband, who’s usually picky, asked for seconds the first time I made it this way, and it’s been a staple ever since. There’s a profound satisfaction in pulling that golden bird from the oven, surrounded by caramelised vegetables, and knowing you created it from scratch. If you give it a try, I’d love to hear how it turns out for you. Share your thoughts and questions in the comments below — happy cooking!