Classic Beef Sliders With Special Sauce
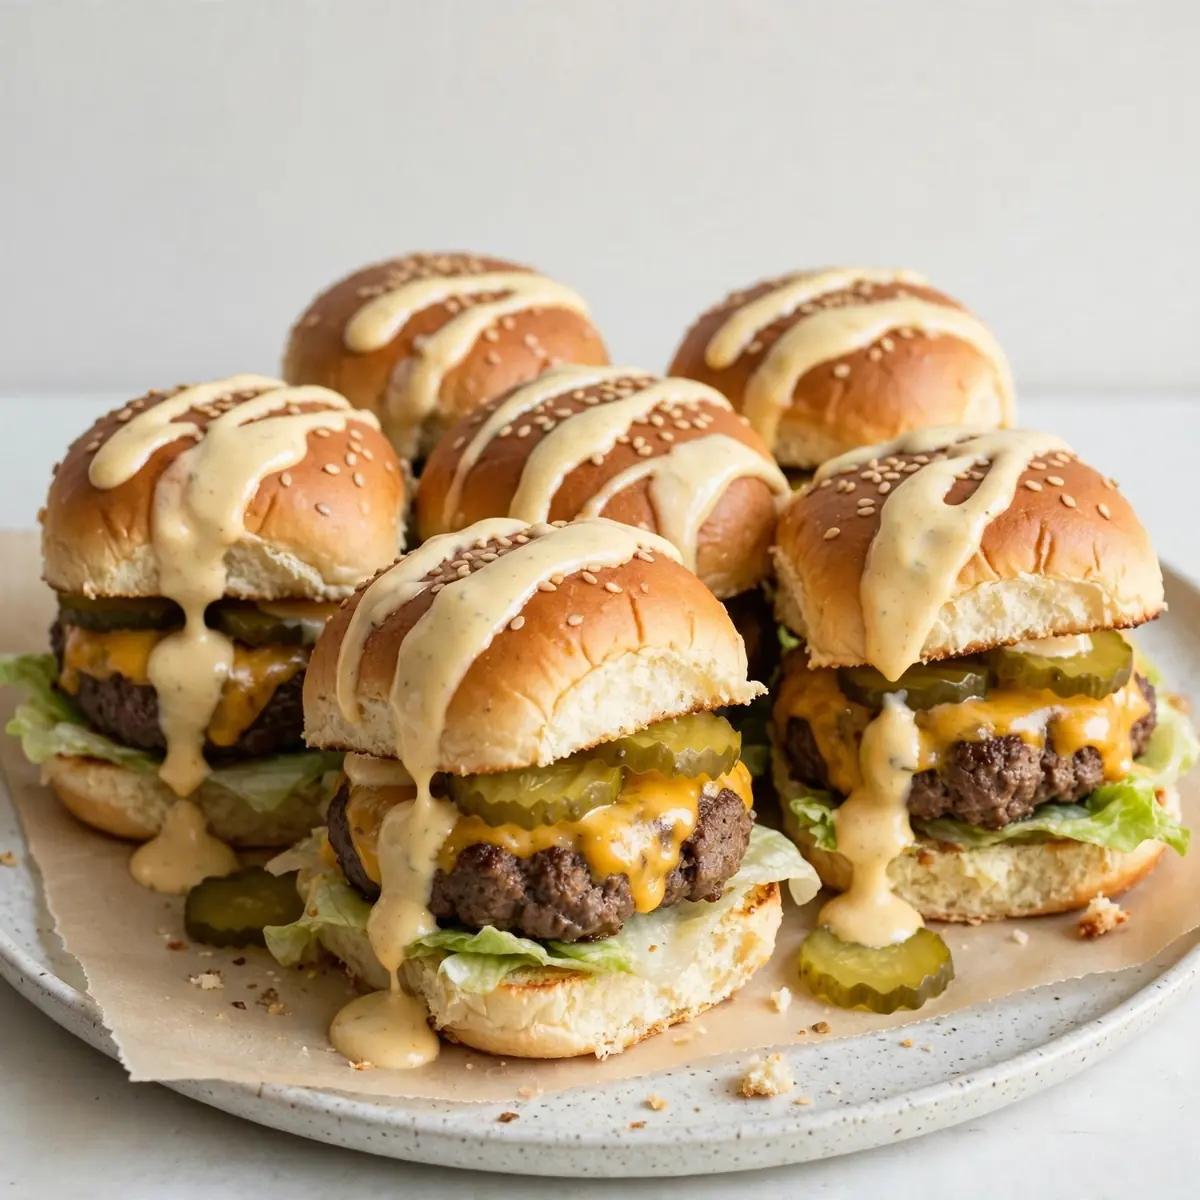
A slow Saturday afternoon in the kitchen, the gentle sizzle of beef hitting a hot pan, and the quiet ritual of building the perfect little burger—this is what I call a proper weekend project. Classic Beef Sliders with Special Sauce are my favourite excuse to switch off the world and focus on something tactile, warming, and deeply satisfying. Forget rushed midweek meals; these sliders demand a bit of patience and reward you with the kind of aroma that pulls everyone into the kitchen, asking when dinner will be ready. Let’s take our time with this one.
Recipe Overview
- Prep Time: 20 minutes
- Cook Time: 25 minutes
- Total Time: 45 minutes
- Servings: 8 sliders (serves 4-6)
- Difficulty: Easy
Why You’ll Love This Classic Beef Sliders with Special Sauce
- Deep, savoury satisfaction: The beef patties develop a rich, caramelised crust that adds incredible depth of flavour. My kids absolutely devour this every time I make it, and I love watching them build their own little stacks.
- A sauce that makes the dish: This special sauce is tangy, creamy, and just a little sweet—it ties every component together without overwhelming the beef. I used to struggle with this dish until I discovered this technique for emulsifying the sauce.
- Perfect for slowing down: The process of shaping patties, prepping toppings, and toasting buns is wonderfully meditative. You can’t rush it, and that’s exactly the point.
- Customisable toppings: Everyone can add their own pickles, onions, or cheese, making it a relaxed, hands-off dinner that still feels special.
- Small but mighty: Sliders are somehow more fun than full-sized burgers. They feel like a treat, they’re easy to handle, and they leave just enough room for a side of crispy chips.
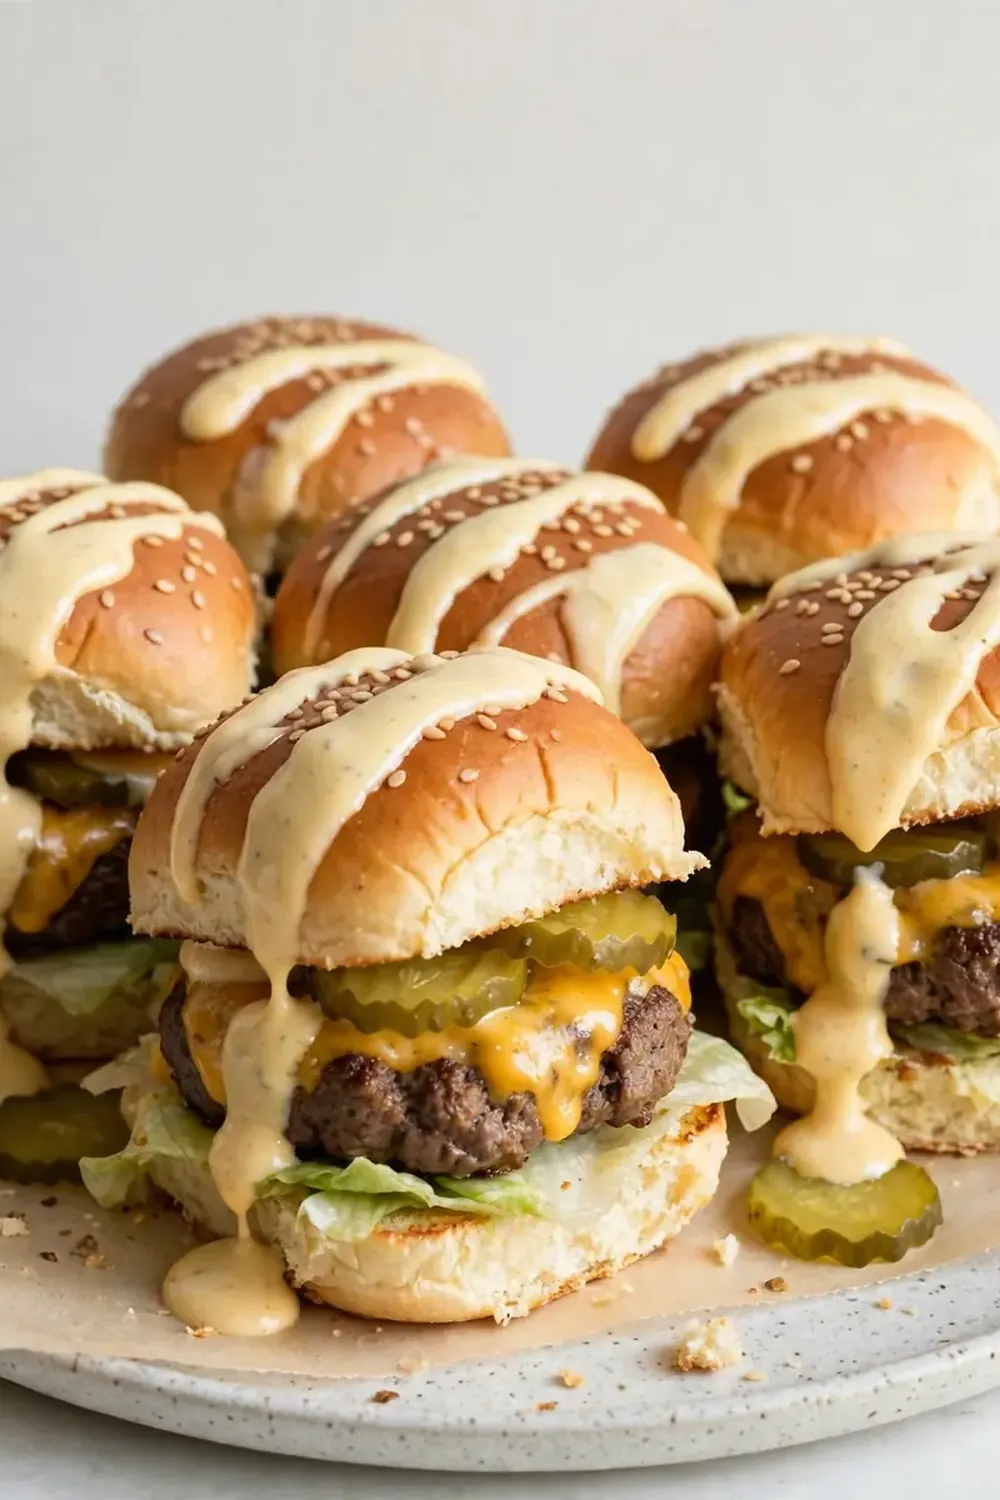
Ingredients You’ll Need
- 500g beef mince (20% fat content for juiciness)
- 1 small onion, finely grated
- 2 cloves garlic, minced
- 1 large egg, lightly beaten
- 50g fresh breadcrumbs (white or wholemeal)
- 1 teaspoon smoked paprika
- 1 teaspoon salt
- ½ teaspoon black pepper
- 1 tablespoon vegetable oil, for frying
- 8 slider buns (brioche or soft white rolls)
- 4 slices of cheddar or Monterey Jack cheese, halved
- Lettuce leaves, washed and dried
- Pickles (gherkins or cornichons)
- 1 small red onion, thinly sliced
Tip: For the special sauce, you’ll need 4 tablespoons mayonnaise, 2 tablespoons tomato ketchup, 1 tablespoon Dijon mustard, 1 teaspoon white wine vinegar, ½ teaspoon garlic powder, and a pinch of cayenne pepper. Mix these in a small bowl and let them sit for 10 minutes while you prepare the patties—the flavours meld beautifully.
How to Make Classic Beef Sliders with Special Sauce
- Prepare the patty mixture: In a large mixing bowl, combine the beef mince, grated onion, minced garlic, beaten egg, breadcrumbs, smoked paprika, salt, and pepper. Use your hands to gently mix everything together—don’t overwork it, or the patties will become dense. The mixture should feel soft and slightly tacky, and you’ll smell the sweet, earthy aroma of the onion and paprika mingling with the fresh beef.
- Shape the sliders: Divide the mixture into 8 equal portions (each about 60-65g). Roll each portion into a ball, then flatten it into a disc about 2cm thick. Press a small indent into the centre of each patty with your thumb—this stops them from puffing up into domes as they cook. The patties should feel firm but springy to the touch.
- Heat the pan and sear: Place a large frying pan or skillet over medium-high heat and add the vegetable oil. When the oil shimmers and a tiny drop of water flicked in sizzles instantly, lay the patties in the pan, leaving space between them. You should hear a vigorous, satisfying hiss as each patty hits the hot surface. Let them cook undisturbed for 3-4 minutes, until the bottom is deep golden brown and crusty. The edges will look opaque and slightly crisp.
- Flip and add cheese: Use a spatula to flip each patty. The cooked side should be a rich mahogany brown with darker caramelised spots. Cook for another 2 minutes, then lay half a slice of cheese on each patty. Cover the pan with a lid for the final minute—the steam will melt the cheese into a soft, glossy blanket. The patties should feel firm but give slightly when pressed.
- Toast the buns: While the patties rest (see tips below), split the slider buns in half. Place them cut-side down in the same pan (off the heat) to soak up the residual beef fat and heat. Alternatively, toast them in a separate dry pan over medium heat for 1-2 minutes until golden and fragrant. The toasted surface should feel crisp but the inside stays pillowy.
- Assemble the sliders: Spread a generous teaspoon of special sauce on the bottom half of each bun. Add a lettuce leaf, then a cheesy patty. Top with a few slices of pickle and a ribbon of red onion. Crown with the top bun and press down gently. Serve immediately, while the patties are still juicy and the sauce is cool and creamy—the contrast is lovely.
Tips From My Kitchen
- Don’t skip the grated onion: Grating the onion releases its moisture, which keeps the patties tender and adds a subtle sweetness that you don’t get from chopped onion. Squeeze the grated onion gently to remove excess liquid before adding it to the mince—too much juice can make the mixture too wet.
- Use a hot pan, but not smoking hot: Medium-high heat is your friend here. If the pan is too hot, the outside of the patty will burn before the inside is cooked. If it’s too cool, you’ll lose that crucial crust. The oil should shimmer but not smoke.
- Let the patties rest after cooking: Transfer the cooked patties to a plate and let them sit for 2-3 minutes before assembling. This allows the juices to redistribute, so they don’t run out when you bite into the slider. The patties will feel slightly firmer after resting.
- Make the sauce ahead: The special sauce actually improves after sitting in the fridge for an hour or even overnight. The flavours deepen and the texture thickens. I often make a double batch and keep it in a jar for other burgers or as a dip for chips.
- Warm the buns properly: Cold, untoasted buns make a sad slider. Toasting adds texture and prevents the bun from going soggy from the sauce and meat juices. A few seconds in the pan or a warm oven makes all the difference.
Equipment You’ll Need
- Large frying pan or skillet
- Sharp knife and cutting board
- Mixing bowls
- Wooden spoon or spatula
- Box grater (for the onion)
- Measuring spoons
Common Mistakes to Avoid
- Overcrowding the pan: If you pack too many patties into the pan, the temperature drops and the meat steams instead of searing. You’ll end up with pale, grey patties instead of golden-brown ones. Cook in batches if necessary—your patience will be rewarded with that deep, savoury crust.
- Wrong temperature: Cooking over too high a heat burns the outside while leaving the inside raw. Too low, and you’ll boil the meat in its own juices. Stick to medium-high heat and listen for that steady, even sizzle—it’s your best cue that the temperature is right.
- Skipping the rest time: I know it’s tempting to eat immediately, but resting the patties for a couple of minutes is non-negotiable. If you skip this step, the juices will flood the bun and make everything soggy. The difference between a rested and unrested patty is the difference between a perfect slider and a messy one.
Delicious Variations to Try
- Spicy Version: Add ½ teaspoon of cayenne pepper or a finely chopped bird’s eye chilli to the beef mixture. You can also stir a teaspoon of sriracha or harissa into the special sauce for an extra kick. The heat cuts through the richness beautifully.
- Vegetarian/Vegan Option: Use a plant-based mince that holds together well when cooked. Add a tablespoon of flaxseed mixed with water to the mixture to help bind it. The special sauce works perfectly as is (use vegan mayonnaise), and you can add grilled mushrooms or roasted peppers for extra flavour.
- Different Protein: Try using lamb mince with a pinch of ground cumin and coriander for a Middle Eastern twist. Turkey mince works well too, though it’s leaner—add a tablespoon of olive oil to the mixture to keep it moist. Both options pair beautifully with the special sauce.
What to Serve With Classic Beef Sliders with Special Sauce
- Thick-cut chips or sweet potato wedges, seasoned with smoked paprika and salt
- A crisp green salad with a simple lemon vinaigrette to cut through the richness
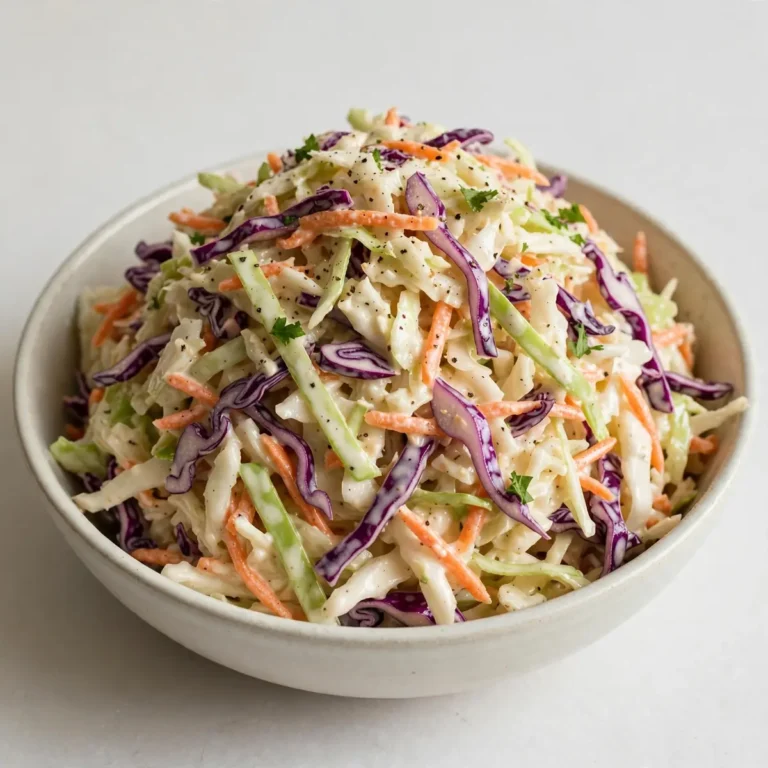
- Pickled red onions or a crunchy coleslaw for added texture and acidity
- A bowl of extra special sauce for dipping the chips
Still hungry for ideas? You might also love Beef Enchiladas Red Sauce Recipe, Healthy Burger Bowls With Special Sauce from our sister kitchens.
Frequently Asked Questions
Classic Beef Sliders with Special Sauce
Ingredients
Method
- Prepare the patty mixture: In a large mixing bowl, combine the beef mince, grated onion, minced garlic, beaten egg, breadcrumbs, smoked paprika, salt, and pepper. Use your hands to gently mix everything together—don't overwork it, or the patties will become dense. The mixture should feel soft and slightly tacky, and you'll smell the sweet, earthy aroma of the onion and paprika mingling with the fresh beef.
- Shape the sliders: Divide the mixture into 8 equal portions (each about 60-65g). Roll each portion into a ball, then flatten it into a disc about 2cm thick. Press a small indent into the centre of each patty with your thumb—this stops them from puffing up into domes as they cook. The patties should feel firm but springy to the touch.
- Heat the pan and sear: Place a large frying pan or skillet over medium-high heat and add the vegetable oil. When the oil shimmers and a tiny drop of water flicked in sizzles instantly, lay the patties in the pan, leaving space between them. You should hear a vigorous, satisfying hiss as each patty hits the hot surface. Let them cook undisturbed for 3-4 minutes, until the bottom is deep golden brown and crusty. The edges will look opaque and slightly crisp.
- Flip and add cheese: Use a spatula to flip each patty. The cooked side should be a rich mahogany brown with darker caramelised spots. Cook for another 2 minutes, then lay half a slice of cheese on each patty. Cover the pan with a lid for the final minute—the steam will melt the cheese into a soft, glossy blanket. The patties should feel firm but give slightly when pressed.
- Toast the buns: While the patties rest (see tips below), split the slider buns in half. Place them cut-side down in the same pan (off the heat) to soak up the residual beef fat and heat. Alternatively, toast them in a separate dry pan over medium heat for 1-2 minutes until golden and fragrant. The toasted surface should feel crisp but the inside stays pillowy.
- Assemble the sliders: Spread a generous teaspoon of special sauce on the bottom half of each bun. Add a lettuce leaf, then a cheesy patty. Top with a few slices of pickle and a ribbon of red onion. Crown with the top bun and press down gently. Serve immediately, while the patties are still juicy and the sauce is cool and creamy—the contrast is lovely.
Notes
There’s something quietly wonderful about spending a weekend afternoon building these little sliders from scratch. The kitchen fills with the scent of seared beef and toasted buns, and every step—from grating the onion to stirring the sauce—feels like a small act of care. I hope you find the same joy in this recipe that I do, and I’d love to hear how yours turn out. Drop a comment below and let me know if you added your own twist, or if the special sauce became a new household favourite. Happy cooking, friends.