Rich Dark Chocolate Cookies Recipe
There are moments in life that call for a truly exceptional chocolate cookie. Not just any cookie, but one that is profoundly, unapologetically chocolatey. This recipe for Dark Chocolate Cookies is precisely that. It’s for the days when you need a little indulgence, a rich treat to accompany a cup of tea, or simply a moment of pure, unadulterated comfort. I’ve been making this exact recipe for over 7 years, and it never, ever disappoints. It’s my absolute go-to for a proper chocolate fix.
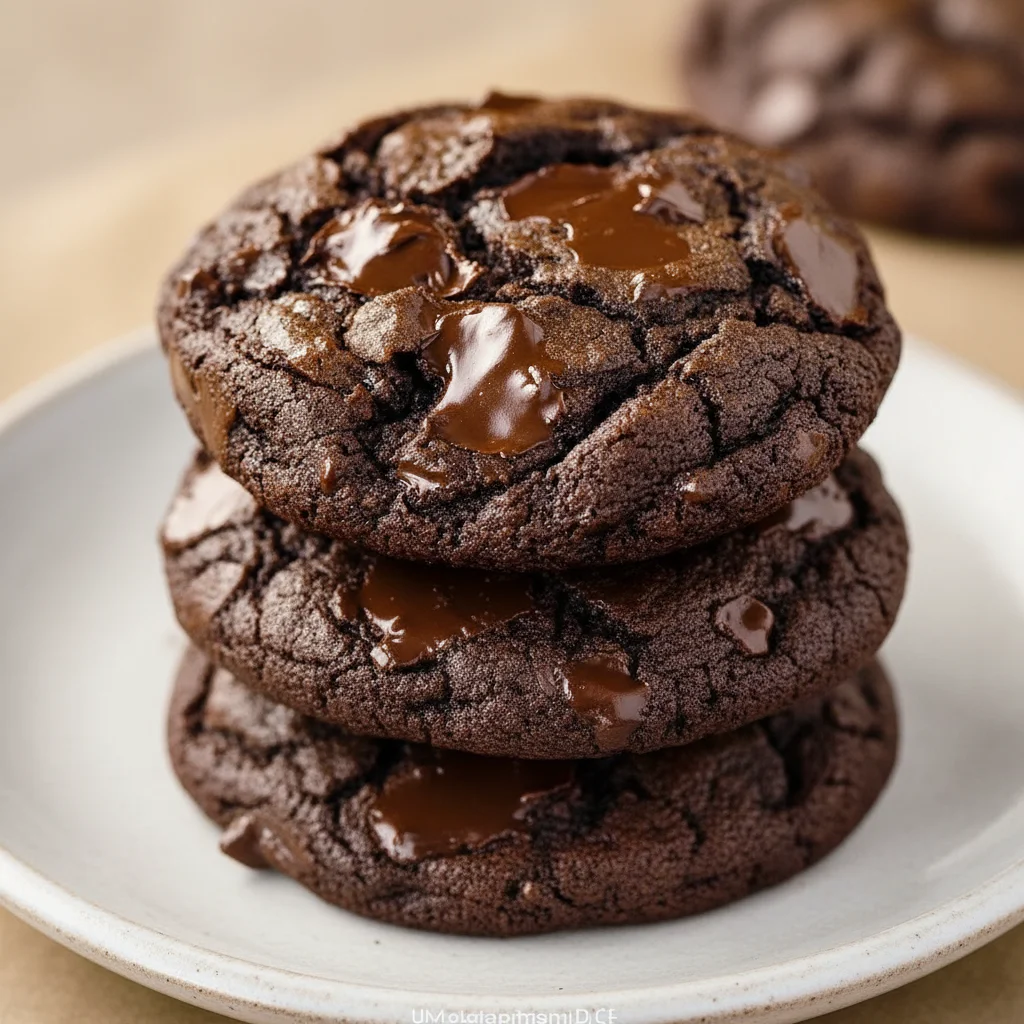
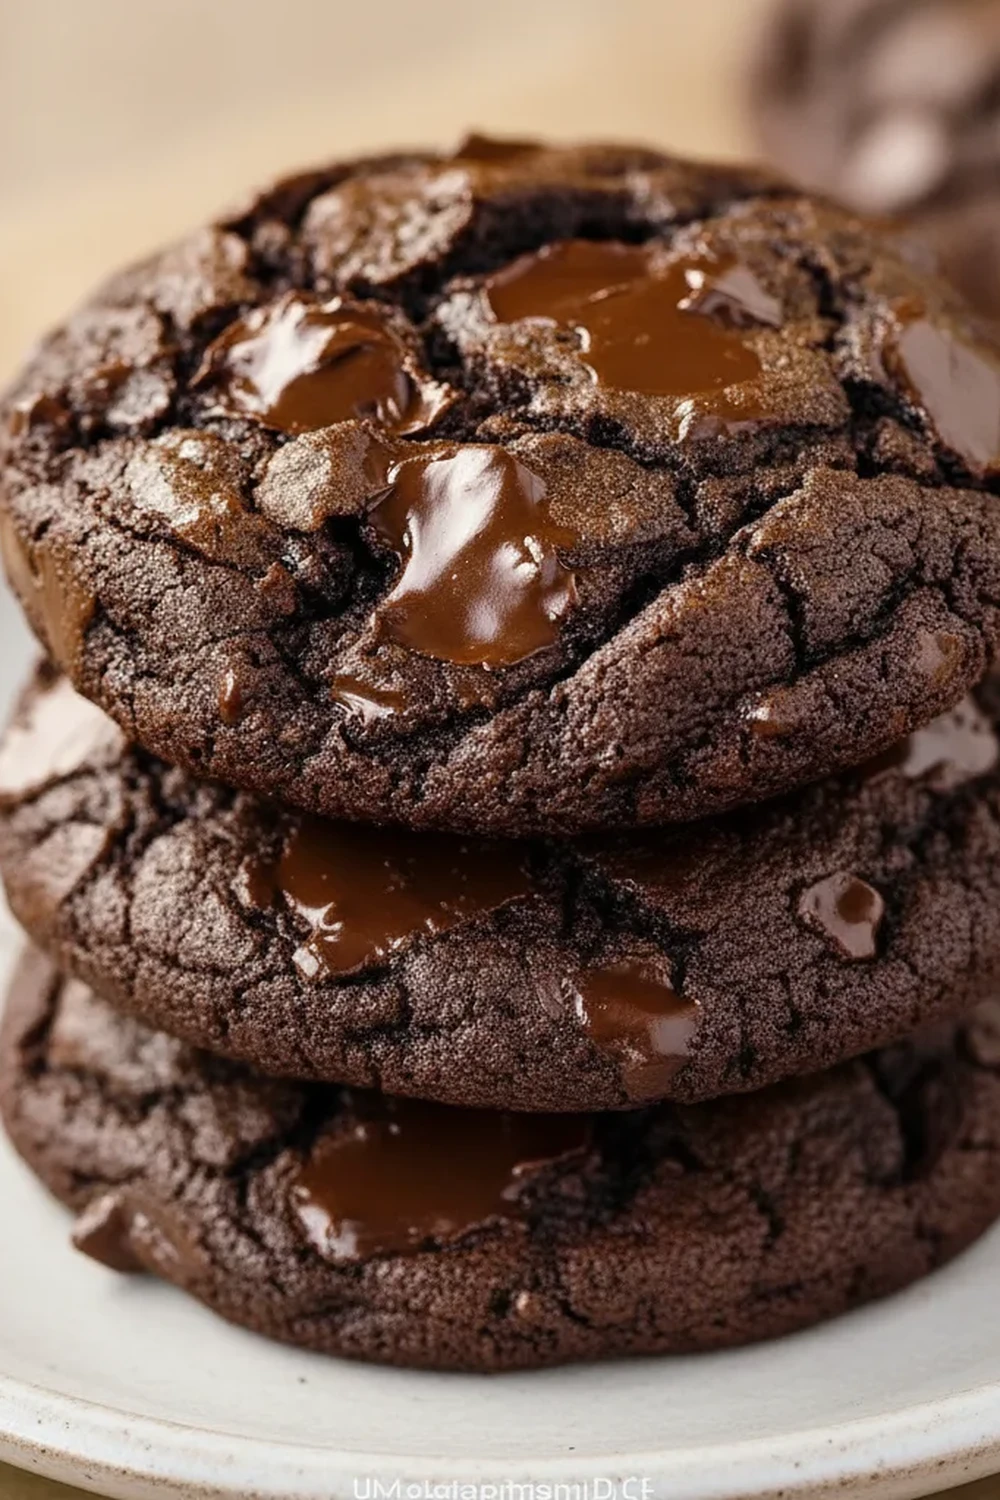
What makes these cookies so special is their incredible texture and depth of flavour. They have delightfully crisp edges that give way to a wonderfully soft and chewy centre. We achieve this through a careful balance of sugars and an extra egg yolk—a little secret that makes all the difference. The flavour isn’t just sweet; it’s a complex, bittersweet experience thanks to the double dose of chocolate. We use both a high-quality Dutch-processed cocoa powder for a deep, dark base and generous chunks of chopped dark chocolate that melt into irresistible, molten puddles throughout the cookie.
This is a recipe for the true chocolate connoisseur, for those who find standard milk chocolate cookies a little too one-dimensional. They are a magnificent treat to bake on a lazy Sunday afternoon, filling your home with the most incredible aroma. They also work beautifully as a homemade gift, carefully packed into a tin for a friend who appreciates the good stuff. Whenever we make them, they vanish from the cooling rack in record time.
Recipe Overview
These dark chocolate cookies are intensely rich with a sophisticated, bittersweet flavour profile. Expect a satisfyingly chewy middle, slightly crispy edges, and glorious pools of melted 70% dark chocolate in every bite. I’ve tested this recipe countless times, and I found that resting the dough in the fridge is the single most important step for achieving the perfect texture and preventing them from spreading too thin.
- Prep Time: 20 minutes
- Chilling Time: 30 minutes (minimum)
- Cook Time: 12-14 minutes per tray
- Total Time: Approximately 1 hour 5 minutes
- Servings: Makes approximately 24 cookies
- Difficulty: Easy
Why You’ll Love This Dark Chocolate Cookies Recipe
- Intense Chocolate Flavour: Using both Dutch-processed cocoa and a chopped 70% dark chocolate bar creates a layered, robust chocolate taste that is rich and deeply satisfying without being cloyingly sweet.
- Comes Together in About an Hour: Including the essential chilling time, you can have a batch of these glorious cookies cooling on your counter in just over an hour.
- A Forgiving Recipe: This dough is quite adaptable. You can stir in toasted nuts, add a pinch of flaky sea salt on top before baking, or even swirl in a spoonful of peanut butter into each dough ball for a delicious twist.
- Works Wonderfully for Gifting: These cookies look as good as they taste and hold up well, making them ideal for packing into a nice box as a thoughtful homemade gift for birthdays or thank-yous.
- Family Tested: My entire family adores these, but my husband in particular says they are the best chocolate cookies he’s ever had. He loves them best when they’re still slightly warm from the oven.
Ingredients You’ll Need
For the best dark chocolate cookies, the quality of your ingredients really matters, especially the chocolate. I always use a good 70% cocoa dark chocolate bar, like Green & Black’s or Lindt, that I chop myself. The irregular chunks create a much better texture than uniform chocolate chips. For the cocoa, a Dutch-processed variety gives a smoother, less acidic flavour and a darker colour.
- 170g unsalted butter, softened to room temperature
- 150g light brown soft sugar
- 100g granulated sugar
- 1 large free-range egg, at room temperature
- 1 large free-range egg yolk, at room temperature
- 2 tsp vanilla extract
- 200g plain flour
- 65g Dutch-processed cocoa powder
- 1 tsp bicarbonate of soda
- ½ tsp fine sea salt
- 200g good-quality dark chocolate (minimum 70% cocoa solids), roughly chopped
Elena’s Tip: Don’t be tempted to use a lower-quality chocolate. The flavour of a 70% cocoa solid bar provides the perfect bittersweet contrast to the sweetness of the cookie dough. It’s the star of the show!
How to Make Dark Chocolate Cookies
The process for making these cookies is straightforward. The key is in the details: creaming the butter and sugar properly, not overmixing the flour, and, most importantly, chilling the dough. This final step is non-negotiable for a thick, chewy cookie.
- Cream Butter and Sugars: In a large bowl or the bowl of a stand mixer fitted with the paddle attachment, beat the softened butter, light brown sugar, and granulated sugar together on medium speed for about 3-4 minutes. The mixture should become light, pale, and fluffy. This step incorporates air, which is crucial for the texture.
- Add Wet Ingredients: Add the egg, egg yolk, and vanilla extract to the butter mixture. Beat again on medium speed until everything is well combined, scraping down the sides of the bowl once or twice to ensure it’s all incorporated evenly.
- Combine Dry Ingredients: In a separate medium bowl, whisk together the plain flour, cocoa powder, bicarbonate of soda, and salt. Whisking first prevents clumps of cocoa or soda in your final cookies.
- Mix the Dough: Add the dry ingredients to the wet ingredients in two batches. Mix on low speed until just combined. It’s important not to overmix here; stop as soon as you no longer see streaks of flour. Overmixing can lead to tough cookies.
- Fold in the Chocolate: Add the chopped dark chocolate to the bowl and use a spatula to gently fold it through the dough until it’s evenly distributed.
- Chill the Dough: Cover the bowl with cling film and place it in the refrigerator to chill for at least 30 minutes. An hour is even better if you have the time. I find this step is absolutely essential to prevent the cookies from spreading too much in the oven. The dough will be firm and easier to handle.
- Preheat and Prepare: While the dough is chilling, preheat your oven to 180°C (160°C fan). Line two large baking trays with parchment paper.
- Portion the Cookies: Once chilled, use a medium ice cream scoop or two tablespoons to portion out balls of dough, each about 40-50g. Arrange them on the prepared baking trays, leaving plenty of space between them as they will spread (I usually fit 6-8 per tray).
- Bake to Perfection: Bake one tray at a time for 12-14 minutes. The cookies are ready when the edges are set and the centres look slightly underdone. They will continue to cook on the hot tray.
- Cool and Enjoy: Let the cookies cool on the baking tray for 5-10 minutes before carefully transferring them to a wire rack to cool completely. They will be very soft when they first come out of the oven. This waiting period allows them to set up perfectly.
Tips From My Kitchen
- Temperature is Everything: Using room temperature butter and eggs is vital. Cold ingredients don’t combine as smoothly, and cold butter won’t cream properly, which can affect the final texture of your cookies. I typically take them out of the fridge an hour before I begin baking.
- The Tapping Trick: I learned this from a pastry chef friend. As soon as you take the baking tray out of the oven, tap it firmly on your work surface a couple of times. This helps the slightly puffed-up centres to fall, creating those desirable crinkly tops and a denser, chewier texture.
- Make-Ahead Magic: The cookie dough can be made and kept in the fridge for up to 3 days. The flavour actually deepens overnight! You can also roll the dough into balls, freeze them on a tray, and then transfer them to a freezer bag. They can be baked straight from frozen for up to 3 months; just add an extra 2-3 minutes to the baking time.
- Proper Storage: Store the baked cookies in an airtight container at room temperature. They will stay fresh and chewy for up to 5 days. If they start to get a little firm, a few seconds in the microwave will bring back that just-baked softness.
Equipment You’ll Need
You don’t need any highly specialised equipment for this dark chocolate cookie recipe, but these items will make the process much smoother.
- Stand mixer with paddle attachment, or an electric hand mixer
- Large baking trays
- Parchment paper
- Wire cooling rack
- Medium ice cream scoop (optional, but great for uniform cookies)
Delicious Variations to Try
While this recipe is wonderful as is, it’s also a fantastic base for a few creative twists. Here are some of my favourite ways to adapt these chocolate cookies.
- A Touch of Orange: Add the finely grated zest of one large orange to the butter and sugar mixture at the beginning. Chocolate and orange is a classic pairing that works beautifully here.
- Nutty Crunch: For extra texture and a lovely nutty flavour, fold in 100g of roughly chopped and lightly toasted walnuts, pecans, or hazelnuts along with the dark chocolate chunks.
- Flaky Sea Salt Finish: Just before baking, sprinkle a tiny pinch of flaky sea salt (like Maldon) over the top of each dough ball. The salt enhances the deep chocolate flavour and provides a delightful contrast. This is my personal favourite variation!
What to Serve With Dark Chocolate Cookies
These cookies are a complete treat on their own, but they are also a wonderful component of a more elaborate dessert. Here are a few serving ideas:
- A Glass of Cold Milk: The simple, timeless pairing. The creaminess of the milk is the perfect counterpoint to the rich, dark chocolate.
- Vanilla Bean Ice Cream: For a truly decadent dessert, serve a warm cookie alongside a scoop of high-quality vanilla bean ice cream. The contrast of hot and cold is sensational.
- A Strong Coffee: An espresso or a strong Americano cuts through the richness of the cookie wonderfully, making it an ideal after-dinner treat. If you’ve enjoyed this, you might also like my Cheesy Tuna Melt Sandwich Recipe for a simple lunch.
Frequently Asked Questions
Dark Chocolate Cookies
Ingredients
Method
- Cream Butter and Sugars: In a large bowl or the bowl of a stand mixer fitted with the paddle attachment, beat the softened butter, light brown sugar, and granulated sugar together on medium speed for about 3-4 minutes. The mixture should become light, pale, and fluffy. This step incorporates air, which is crucial for the texture.
- Add Wet Ingredients: Add the egg, egg yolk, and vanilla extract to the butter mixture. Beat again on medium speed until everything is well combined, scraping down the sides of the bowl once or twice to ensure it's all incorporated evenly.
- Combine Dry Ingredients: In a separate medium bowl, whisk together the plain flour, cocoa powder, bicarbonate of soda, and salt. Whisking first prevents clumps of cocoa or soda in your final cookies.
- Mix the Dough: Add the dry ingredients to the wet ingredients in two batches. Mix on low speed until just combined. It’s important not to overmix here; stop as soon as you no longer see streaks of flour. Overmixing can lead to tough cookies.
- Fold in the Chocolate: Add the chopped dark chocolate to the bowl and use a spatula to gently fold it through the dough until it's evenly distributed.
- Chill the Dough: Cover the bowl with cling film and place it in the refrigerator to chill for at least 30 minutes. An hour is even better if you have the time. I find this step is absolutely essential to prevent the cookies from spreading too much in the oven. The dough will be firm and easier to handle.
- Preheat and Prepare: While the dough is chilling, preheat your oven to 180°C (160°C fan). Line two large baking trays with parchment paper.
- Portion the Cookies: Once chilled, use a medium ice cream scoop or two tablespoons to portion out balls of dough, each about 40-50g. Arrange them on the prepared baking trays, leaving plenty of space between them as they will spread (I usually fit 6-8 per tray).
- Bake to Perfection: Bake one tray at a time for 12-14 minutes. The cookies are ready when the edges are set and the centres look slightly underdone. They will continue to cook on the hot tray.
- Cool and Enjoy: Let the cookies cool on the baking tray for 5-10 minutes before carefully transferring them to a wire rack to cool completely. They will be very soft when they first come out of the oven. This waiting period allows them to set up perfectly.
Notes
I truly hope you give this dark chocolate cookie recipe a try. It’s one of those reliable bakes that always brings a smile to people’s faces and fills the kitchen with the most comforting aroma. There’s nothing quite like pulling a tray of these from the oven, with their crinkly tops and glistening pools of melted chocolate. If you do make them, please leave a comment below and let me know how they turned out. I love hearing from you! Happy baking, Elena.