Fresh Strawberry Cheesecake Cups
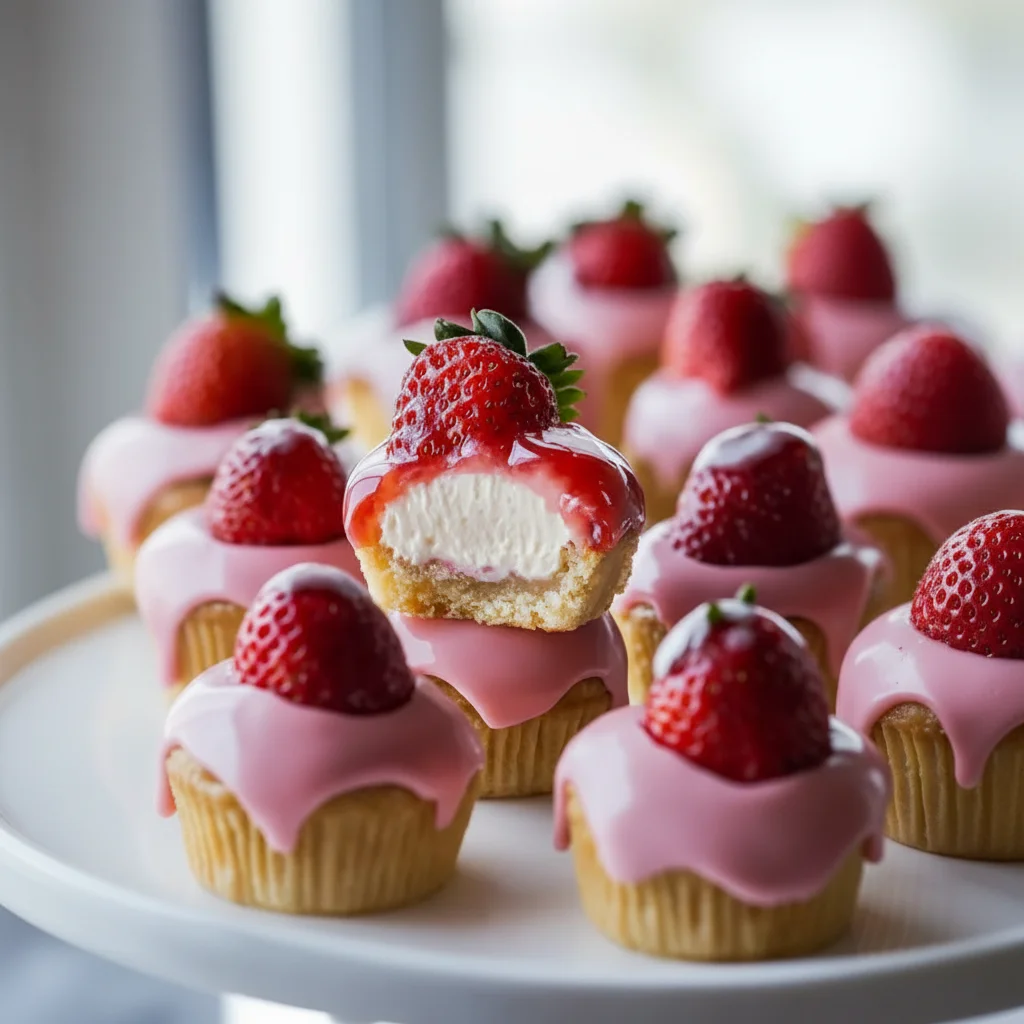
There’s a particular magic to a dessert that looks impressive but is deceptively straightforward to assemble. These individual Strawberry Cheesecake Cups are exactly that. They capture the essence of a classic cheesecake—the buttery biscuit base, the rich and tangy cream cheese filling, and the sweet fruit topping—all neatly packaged in a beautiful little glass. I stumbled upon this method of making individual dessert cups by accident when I had leftover filling from a large cheesecake, and it’s been a go-to for me ever since. The result was so delightful that it now has a permanent place in my recipe collection.
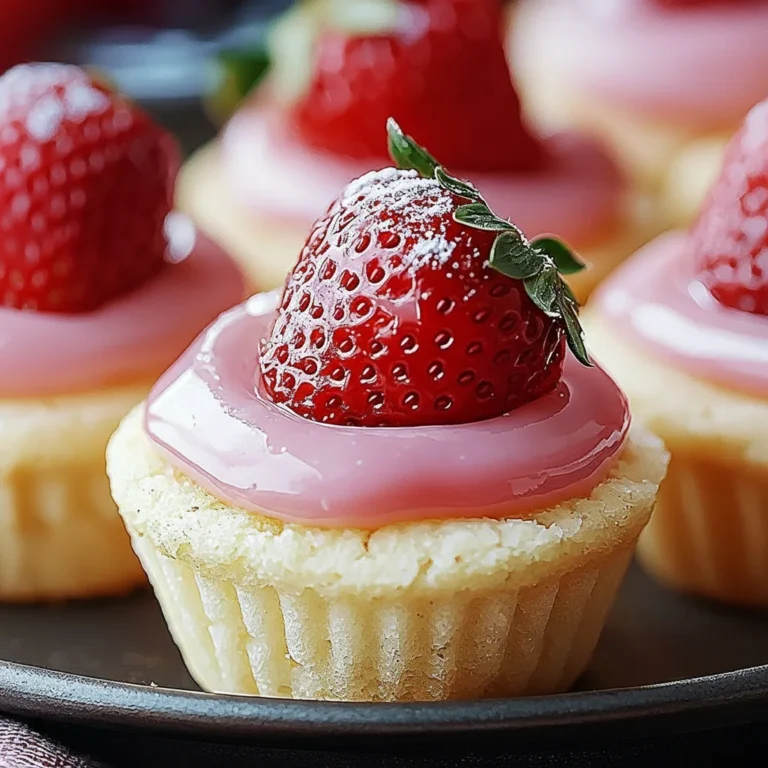
What makes these little pots of joy so special is the balance of textures and flavours. You get the satisfying crunch from the digestive biscuit base, which is soaked in just enough butter to hold it together. This is followed by a layer of velvety, smooth cream cheese filling that is luxuriously thick and just the right amount of sweet. To finish, a simple yet vibrant fresh strawberry topping cuts through the richness, adding a bright, fruity note that makes each spoonful utterly delightful. This is the kind of strawberry dessert that feels both elegant and comforting at the same time.
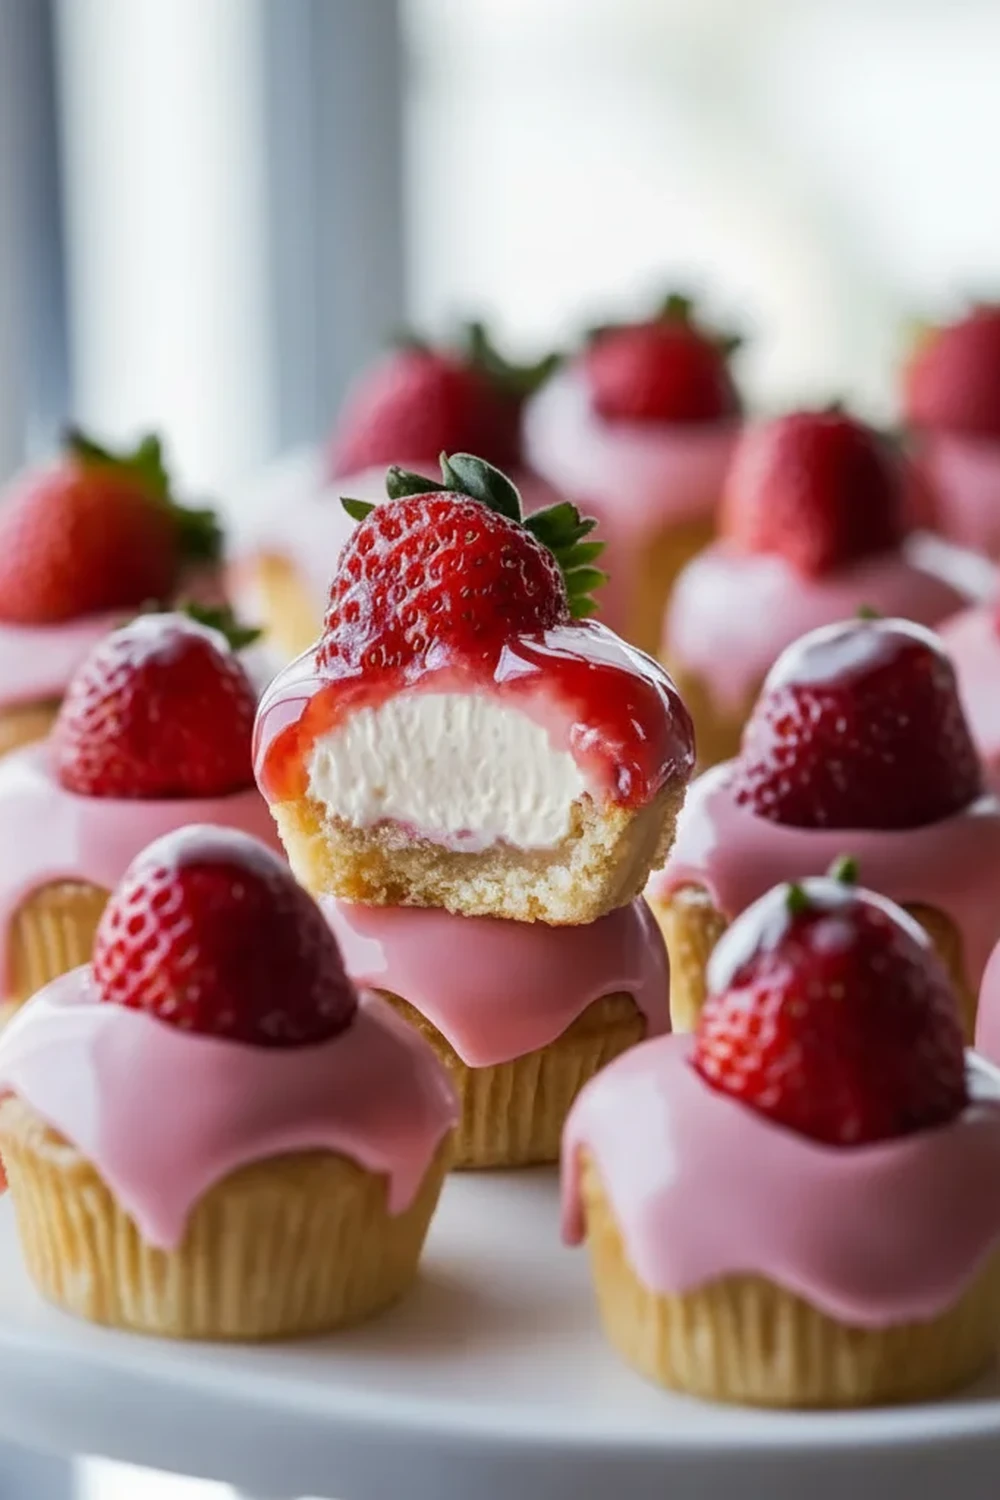
These no-bake cheesecake cups are a wonderful choice when you need a dessert that can be made ahead of time. They work beautifully for a summer garden party, a special family dinner, or simply when you fancy a sophisticated treat without turning on the oven. Everyone seems to love the individual portions; there’s no fuss with slicing, and they look stunning lined up on a tray. It’s a dessert that feels personal and special for each guest.
Recipe Overview
This recipe guides you through creating individual no-bake strawberry cheesecake cups. We’re aiming for three distinct, delicious layers: a crisp, buttery biscuit base, a smooth and tangy cream cheese filling, and a fresh, vibrant strawberry topping. From my testing, the key to the creamiest filling is ensuring your cream cheese and double cream are at the right temperature—the cream cheese soft at room temperature and the double cream well-chilled.
- Prep Time: 25 minutes
- Chill Time: 4 hours (or overnight)
- Total Time: 4 hours 25 minutes
- Servings: 6 dessert cups
- Difficulty: Easy
Why You’ll Love These Strawberry Cheesecake Cups
- Genuine Flavour: The filling is wonderfully tangy from the full-fat cream cheese and fresh lemon juice, balanced by the sweetness of the icing sugar, while the topping delivers a pure, unadulterated strawberry taste.
- Ready in Under 30 Minutes (Prep): The active preparation time is minimal. The whole recipe comes together in about 25-30 minutes before the cups go into the fridge to set.
- Flexible Recipe: You can easily swap the strawberries for raspberries, blueberries, or a summer berry mix. For a bit of extra texture, try adding a sprinkle of toasted almonds on top.
- Great for Entertaining: These dessert cups are ideal for dinner parties or barbecues because they can be made a day in advance, freeing you up on the day of your event.
- Family Tested: My children adore these! They love having their own personal dessert, and they always make sure to scrape every last bit from the glass.
Ingredients You’ll Need
For the best results, I recommend using full-fat ingredients for the filling. The fat content is crucial for achieving that rich flavour and firm, creamy texture. I always reach for Philadelphia cream cheese as I find it gives the most consistent, non-grainy result. Make sure it’s the block kind, not the soft spreadable type.
- For the Biscuit Base:
- 150g digestive biscuits
- 75g unsalted butter, melted
- 1 tbsp demerara sugar (optional, for extra crunch)
- For the Cheesecake Filling:
- 300g full-fat cream cheese (like Philadelphia), at room temperature
- 100g icing sugar, sifted
- 1 tsp vanilla bean paste or extract
- Zest of 1 small lemon
- 1 tbsp fresh lemon juice
- 250ml double cream, cold
- For the Strawberry Topping:
- 250g fresh strawberries, hulled
- 1 tbsp caster sugar
- 1 tsp lemon juice
Elena’s Tip: Letting the cream cheese come to room temperature for at least an hour is non-negotiable. Cold cream cheese will result in a lumpy filling, no matter how much you beat it. This simple step makes all the difference.
How to Make Strawberry Cheesecake Cups
The process is all about creating three simple layers. We’ll start with the base, whip up the creamy filling, and finish with a fresh fruit topping. Working in stages and allowing for proper chilling time is the key to success with this no bake cheesecake.
- Prepare the Biscuit Base: Place the digestive biscuits in a sealed food bag and crush them into fine crumbs using a rolling pin. Alternatively, you can blitz them in a food processor. Transfer the crumbs to a bowl, add the demerara sugar (if using), and pour over the melted butter. Mix with a fork until the crumbs are evenly coated and resemble wet sand.
- Assemble the Bases: Divide the biscuit mixture evenly between 6 small glasses or dessert cups (around 200ml capacity). Use the back of a teaspoon to press the mixture down firmly and create a flat, even layer. Place the glasses in the refrigerator to chill for at least 30 minutes while you prepare the filling.
- Make the Cream Cheese Filling: In a large mixing bowl, add the room temperature cream cheese, sifted icing sugar, vanilla, lemon zest, and lemon juice. Using an electric hand mixer or a stand mixer with the paddle attachment, beat on a low-medium speed for about 2 minutes until everything is combined and the mixture is smooth and creamy. Scrape down the sides of the bowl to ensure there are no lumps.
- Whip the Double Cream: In a separate, clean bowl, pour in the cold double cream. Whip it using the electric mixer (with clean beaters) on medium-high speed until it forms stiff peaks. Be careful not to over-whip it. For a great visual guide on whipping cream, you can check out resources like this one from BBC Good Food.
- Combine the Filling: Gently fold about a third of the whipped cream into the cream cheese mixture using a spatula to lighten it. Then, add the remaining whipped cream and fold carefully until just combined. The goal is to keep the air in the cream, so use gentle, sweeping motions.
- Fill the Cups: Spoon or pipe the cheesecake filling over the chilled biscuit bases, dividing it evenly among the glasses. I find that using a piping bag gives you that neat, professional-looking swirl, but a spoon works just fine. Smooth the tops with the back of a spoon.
- Chill to Set: Cover the dessert cups with cling film and place them back in the refrigerator to set for at least 4 hours, or ideally overnight. This chilling time is essential for the filling to firm up properly.
- Prepare the Strawberry Topping: About 30 minutes before serving, prepare the topping. Finely chop half of the strawberries and place them in a small bowl. Add the caster sugar and lemon juice and gently stir to combine. Let this mixture sit for 15-20 minutes to macerate—this draws out the juices and creates a light syrup. Slice the remaining strawberries for decoration.
- Serve: Just before serving, spoon the macerated strawberries and their juices over the set cheesecake filling. Garnish with the fresh strawberry slices.
Tips From My Kitchen
- Temperature Control: The temperature of your dairy is crucial. The cream cheese must be at room temperature to avoid lumps, and the double cream must be very cold straight from the fridge to whip up to stiff peaks. Don’t skip these details!
- The Secret Step: I learned that gently folding the whipped cream into the cream cheese mixture in two stages is the best way to maintain a light, airy texture. Rushing this step and just beating it all together can deflate the cream, leading to a denser filling.
- Make-Ahead: These cheesecake cups are fantastic for making ahead. You can prepare them completely (base and filling) up to 2 days in advance. Just keep them covered in the fridge and add the fresh strawberry topping just before you plan to serve them.
- Storage: Leftover strawberry cheesecake cups can be stored, covered, in the refrigerator for up to 3 days. The biscuit base may soften slightly over time, but they will still be delicious. I do not recommend freezing them as it can alter the texture of the cream cheese filling.
Equipment You’ll Need
- Electric hand mixer or stand mixer
- 6 small glasses or dessert pots (approx. 200ml)
- Large mixing bowl
- Medium mixing bowl
- Spatula
- Piping bag with a large nozzle (optional, for a neater finish)
Delicious Variations to Try
Once you’ve mastered the basic recipe, it’s fun to experiment with other flavours. These dessert cups are wonderfully adaptable.
- Raspberry and White Chocolate: Swap the strawberries for fresh raspberries. For an extra touch of decadence, fold 50g of finely chopped or shaved white chocolate into the cheesecake filling before chilling.
- Lemon and Blueberry: Omit the vanilla and increase the lemon zest to 2 lemons for a tangier filling. Top with a simple blueberry compote instead of the macerated strawberries. This variation is a lovely finish after a rich main like Savory Beef And Broccoli Stir Fry.
- Gluten-Free Version: To make these cups gluten-free, simply substitute the digestive biscuits with your favourite gluten-free shortbread or digestive-style biscuit. The method remains exactly the same.
What to Serve With Strawberry Cheesecake Cups
These cheesecake cups are a complete dessert on their own, but here are a few ideas if you want to add a little something extra.
- A Crisp Shortbread Biscuit: Serve with a delicate, buttery shortbread biscuit on the side for extra crunch and texture.
- A Drizzle of Balsamic Glaze: A tiny drizzle of high-quality balsamic glaze over the strawberries can enhance their sweetness and add a complex, tangy note that pairs beautifully with the cheesecake.
- A Glass of Prosecco: The light bubbles and crisp acidity of a glass of Prosecco or another sparkling wine cut through the richness of the cheesecake perfectly, making it a wonderful drink pairing for a special occasion.
Frequently Asked Questions
Strawberry Cheesecake Cups
Ingredients
Method
- Prepare the Biscuit Base: Place the digestive biscuits in a sealed food bag and crush them into fine crumbs using a rolling pin. Alternatively, you can blitz them in a food processor. Transfer the crumbs to a bowl, add the demerara sugar (if using), and pour over the melted butter. Mix with a fork until the crumbs are evenly coated and resemble wet sand.
- Assemble the Bases: Divide the biscuit mixture evenly between 6 small glasses or dessert cups (around 200ml capacity). Use the back of a teaspoon to press the mixture down firmly and create a flat, even layer. Place the glasses in the refrigerator to chill for at least 30 minutes while you prepare the filling.
- Make the Cream Cheese Filling: In a large mixing bowl, add the room temperature cream cheese, sifted icing sugar, vanilla, lemon zest, and lemon juice. Using an electric hand mixer or a stand mixer with the paddle attachment, beat on a low-medium speed for about 2 minutes until everything is combined and the mixture is smooth and creamy. Scrape down the sides of the bowl to ensure there are no lumps.
- Whip the Double Cream: In a separate, clean bowl, pour in the cold double cream. Whip it using the electric mixer (with clean beaters) on medium-high speed until it forms stiff peaks. Be careful not to over-whip it. For a great visual guide on whipping cream, you can check out resources like this one from BBC Good Food.
- Combine the Filling: Gently fold about a third of the whipped cream into the cream cheese mixture using a spatula to lighten it. Then, add the remaining whipped cream and fold carefully until just combined. The goal is to keep the air in the cream, so use gentle, sweeping motions.
- Fill the Cups: Spoon or pipe the cheesecake filling over the chilled biscuit bases, dividing it evenly among the glasses. I find that using a piping bag gives you that neat, professional-looking swirl, but a spoon works just fine. Smooth the tops with the back of a spoon.
- Chill to Set: Cover the dessert cups with cling film and place them back in the refrigerator to set for at least 4 hours, or ideally overnight. This chilling time is essential for the filling to firm up properly.
- Prepare the Strawberry Topping: About 30 minutes before serving, prepare the topping. Finely chop half of the strawberries and place them in a small bowl. Add the caster sugar and lemon juice and gently stir to combine. Let this mixture sit for 15-20 minutes to macerate—this draws out the juices and creates a light syrup. Slice the remaining strawberries for decoration.
- Serve: Just before serving, spoon the macerated strawberries and their juices over the set cheesecake filling. Garnish with the fresh strawberry slices.
Notes
I hope you enjoy making—and eating—these Strawberry Cheesecake Cups as much as my family and I do. They are such a rewarding fruit dessert to make, and they always get compliments. If you try them, I’d love for you to leave a comment below and let me know how they turned out!