Oreo Cinnamon Rolls
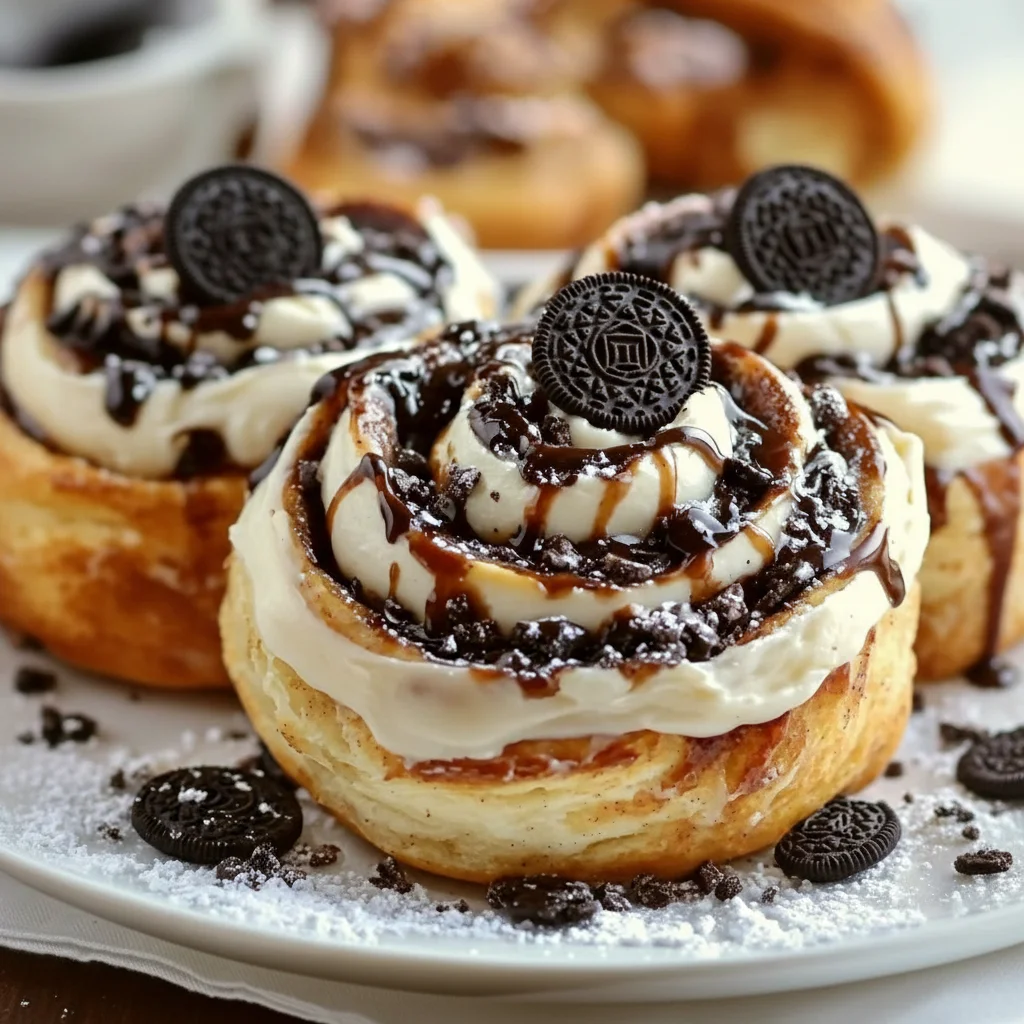
There are moments in the kitchen when two brilliant ideas collide, and the result is something truly special. That’s exactly what happened with these Oreo Cinnamon Rolls. We’ve taken the soft, pillowy warmth of a classic cinnamon roll and combined it with the iconic, crunchy, cookies-and-cream flavour of Oreos. The outcome is a sweet, decadent bake that is both familiar and excitingly new. The dough is wonderfully tender, enriched with butter and milk, providing the perfect canvas for a buttery, cinnamon-spiced filling studded with crushed Oreo pieces.
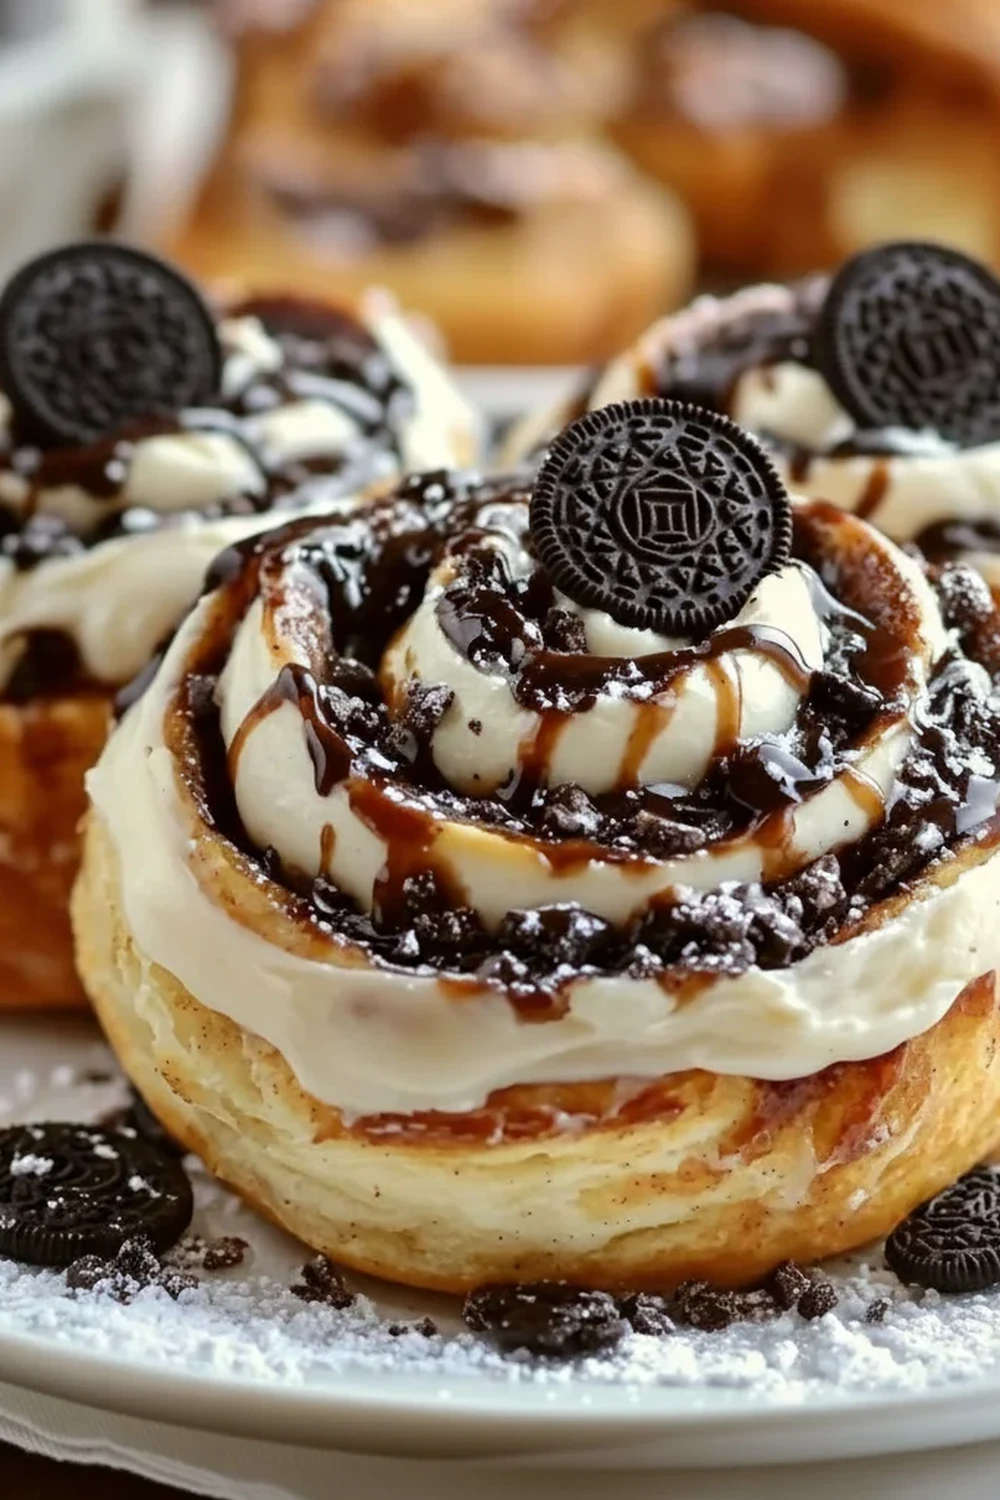
Then, to finish, we slather them in a tangy, smooth cream cheese icing, with even more Oreo crumbs scattered on top for that final flourish. It’s a texture and flavour combination that just works so well. The slight bitterness of the dark cocoa biscuit cuts through the sweetness, creating a balanced treat that isn’t overpowering. Friends always ask me for this recipe after trying it at dinner parties; it’s one of those bakes that looks impressive but is built on simple, comforting techniques.
These cookies and cream rolls are ideal for a lazy weekend breakfast, a show-stopping brunch, or even as a dessert to round off a special meal. Imagine a chilly morning, a fresh pot of coffee, and one of these warm, gooey Oreo-filled sweet rolls. It’s a little moment of pure indulgence that we all deserve from time to time.
Recipe Overview
This recipe guides you through creating beautifully soft, yeast-risen rolls with a distinct cookies and cream character. The dough is a straightforward enriched dough, which means it’s forgiving and results in a wonderfully tender crumb. During testing, I found that using full-fat milk and real butter (not margarine) makes a significant difference to the final texture and richness, so I highly recommend not skimping on those.
- Prep Time: 35 minutes
- Proving Time: 1 hour 30 minutes
- Cook Time: 25 minutes
- Total Time: 2 hours 30 minutes
- Servings: 12 rolls
- Difficulty: Medium
Why You’ll Love This Oreo Cinnamon Rolls Recipe
- Incredible Flavour and Texture: You get the best of both worlds – the soft, yielding texture of a warm sweet roll, combined with the satisfying crunch of Oreo biscuit pieces. The dark cocoa flavour of the cookies provides a lovely contrast to the sweet dough and tangy cream cheese icing.
- A Show-Stopping Bake: While the process is methodical, the end result looks like it came from a professional bakery. The distinct black-and-white swirl makes these rolls visually stunning.
- A Versatile Recipe: You can easily adapt the filling. Try adding 50g of white chocolate chips for extra decadence or a teaspoon of instant espresso powder to the icing to deepen the flavour.
- Ideal for Special Mornings: This works beautifully for a birthday breakfast, a festive brunch, or whenever you want to make a weekend morning feel a bit more celebratory. After a lovely brunch, you can plan an easy dinner with my Sticky Sweet Teriyaki Chicken Bowls.
- Family Tested and Approved: My whole family adores these. The kids love helping crush the Oreos, and everyone agrees they are one of the best treats to come out of my kitchen. It’s a recipe that always gets compliments.
Ingredients You’ll Need
For this recipe, we’re using standard pantry ingredients. I always recommend using genuine Oreo cookies, as their specific flavour and texture are what make these rolls so distinctive. Their history as a beloved American biscuit, which you can read about on Wikipedia, is fascinating!
- For the Dough:
- 500g strong white bread flour, plus extra for dusting
- 7g sachet of fast-action dried yeast
- 50g caster sugar
- 1 tsp salt
- 250ml full-fat milk, lukewarm
- 75g unsalted butter, melted
- 2 medium free-range eggs, lightly beaten
- For the Filling:
- 100g unsalted butter, very soft
- 75g soft light brown sugar
- 2 tsp ground cinnamon
- 150g (about 14) Oreo cookies, finely crushed
- For the Cream Cheese Icing:
- 100g full-fat cream cheese, at room temperature
- 50g unsalted butter, softened
- 200g icing sugar, sifted
- 1 tsp vanilla extract
- 1-2 tbsp milk (to adjust consistency)
- 50g (about 4) Oreo cookies, roughly chopped for topping
Elena’s Tip: Ensure your milk is just lukewarm – about the temperature of a baby’s bath. If it’s too hot, it can kill the yeast, and your dough won’t rise properly. If it’s too cold, the yeast will be sluggish. Getting this right is key to a light, airy dough.
How to Make Oreo Cinnamon Rolls
The process involves making and proving a soft dough, creating a simple but delicious filling, and assembling the rolls before their final bake. Don’t be intimidated by the yeast; just follow the steps and you’ll be rewarded with incredible results.
- Activate the Yeast and Mix the Dough: In a large bowl, or the bowl of a stand mixer fitted with a dough hook, combine the bread flour, yeast, caster sugar, and salt. In a separate jug, whisk together the lukewarm milk, melted butter, and beaten eggs. Pour the wet ingredients into the dry ingredients and mix until a shaggy dough forms.
- Knead the Dough: Knead the dough for 8-10 minutes using the stand mixer on a medium-low speed, or for about 10-12 minutes by hand on a lightly floured surface. The dough should become smooth, soft, and elastic. To check if it’s ready, you can do the ‘windowpane test’ – a small piece should stretch thinly without tearing. For more tips on this, BBC Good Food has an excellent guide to kneading.
- First Prove: Place the dough in a lightly oiled bowl, cover it with a clean tea towel or cling film, and leave it in a warm, draught-free place for 60-90 minutes, or until it has doubled in size.
- Prepare the Filling: While the dough is proving, prepare your filling. In a small bowl, mix the very soft butter, light brown sugar, and ground cinnamon until it forms a smooth paste. Have your crushed Oreos ready in a separate bowl.
- Shape the Rolls: Once the dough has risen, gently punch it down and turn it out onto a lightly floured work surface. Roll it out into a large rectangle, roughly 40cm x 30cm. Spread the cinnamon butter paste evenly over the surface, leaving a small 1cm border along one of the long edges. Sprinkle the crushed Oreos evenly over the butter.
- Roll and Cut: Tightly roll the dough up from the long edge, finishing with the clean edge sealed underneath. What works best for me is using a piece of unscented dental floss to cut the log into 12 even rolls. Slide the floss under the log, cross the ends over the top, and pull. This gives a perfectly clean cut without squashing the rolls.
- Second Prove: Arrange the rolls cut-side up in a greased 23cm x 33cm (9×13 inch) baking dish or tin. Cover and leave to prove again in a warm place for 30-45 minutes until they look puffy and are touching each other. Meanwhile, preheat your oven to 180°C (160°C fan).
- Bake to Perfection: Bake the rolls for 20-25 minutes, or until they are a beautiful golden brown on top and cooked through. If they start to brown too quickly, you can loosely cover them with foil for the last 5-10 minutes.
- Make the Icing and Finish: While the rolls are cooling slightly, make the icing. In a bowl, beat the cream cheese and softened butter together until smooth. Gradually beat in the sifted icing sugar and vanilla extract. Add milk, one tablespoon at a time, until you have a thick but spreadable consistency. Spread the icing generously over the warm rolls and scatter the chopped Oreos on top.
Tips From My Kitchen
- Temperature is Key: The success of any yeast dough relies on temperature. A warm (but not hot) spot for proving is essential. I often use my airing cupboard, or I’ll turn the oven on to its lowest setting for a minute, then turn it off and place the dough inside with the door ajar.
- The Secret to a Clean Cut: I mentioned this in the steps, but the dental floss trick for cutting the rolls is a game-changer. I learned that a knife can drag and compress the layers, while floss slices through cleanly, preserving that beautiful swirl.
- Make-Ahead Method: You can prepare these the night before. Follow the steps up to placing the cut rolls in the baking dish. Cover tightly with cling film and refrigerate overnight. In the morning, take them out of the fridge and let them sit at room temperature for about an hour to come to temperature and finish their second prove before baking as directed. This makes them a brilliant option for a hassle-free special breakfast. If you’re looking for other straightforward meal ideas, my Simple Egg Fried Rice For Dinner comes together in no time.
- Storage: These rolls are best enjoyed on the day they are made, preferably warm. However, they will keep in an airtight container at room temperature for up to 2 days. You can gently reheat one in the microwave for 15-20 seconds to soften it up again.
What to Serve With Oreo Cinnamon Rolls
These are a complete treat on their own, but here are a few suggestions to round out the experience:
- A Glass of Cold Milk: The classic pairing for Oreos works just as well here, cutting through the sweetness perfectly.
- Fresh Berries: A small bowl of fresh raspberries or sliced strawberries on the side adds a lovely, sharp contrast and a burst of freshness.
- A Good Cup of Coffee: A strong Americano or a simple filter coffee provides a robust, slightly bitter counterpoint to the sugary, creamy rolls.
Frequently Asked Questions
Oreo Cinnamon Rolls
Ingredients
Method
- Activate the Yeast and Mix the Dough: In a large bowl, or the bowl of a stand mixer fitted with a dough hook, combine the bread flour, yeast, caster sugar, and salt. In a separate jug, whisk together the lukewarm milk, melted butter, and beaten eggs. Pour the wet ingredients into the dry ingredients and mix until a shaggy dough forms.
- Knead the Dough: Knead the dough for 8-10 minutes using the stand mixer on a medium-low speed, or for about 10-12 minutes by hand on a lightly floured surface. The dough should become smooth, soft, and elastic. To check if it’s ready, you can do the 'windowpane test' – a small piece should stretch thinly without tearing. For more tips on this, BBC Good Food has an excellent guide to kneading.
- First Prove: Place the dough in a lightly oiled bowl, cover it with a clean tea towel or cling film, and leave it in a warm, draught-free place for 60-90 minutes, or until it has doubled in size.
- Prepare the Filling: While the dough is proving, prepare your filling. In a small bowl, mix the very soft butter, light brown sugar, and ground cinnamon until it forms a smooth paste. Have your crushed Oreos ready in a separate bowl.
- Shape the Rolls: Once the dough has risen, gently punch it down and turn it out onto a lightly floured work surface. Roll it out into a large rectangle, roughly 40cm x 30cm. Spread the cinnamon butter paste evenly over the surface, leaving a small 1cm border along one of the long edges. Sprinkle the crushed Oreos evenly over the butter.
- Roll and Cut: Tightly roll the dough up from the long edge, finishing with the clean edge sealed underneath. What works best for me is using a piece of unscented dental floss to cut the log into 12 even rolls. Slide the floss under the log, cross the ends over the top, and pull. This gives a perfectly clean cut without squashing the rolls.
- Second Prove: Arrange the rolls cut-side up in a greased 23cm x 33cm (9x13 inch) baking dish or tin. Cover and leave to prove again in a warm place for 30-45 minutes until they look puffy and are touching each other. Meanwhile, preheat your oven to 180°C (160°C fan).
- Bake to Perfection: Bake the rolls for 20-25 minutes, or until they are a beautiful golden brown on top and cooked through. If they start to brown too quickly, you can loosely cover them with foil for the last 5-10 minutes.
- Make the Icing and Finish: While the rolls are cooling slightly, make the icing. In a bowl, beat the cream cheese and softened butter together until smooth. Gradually beat in the sifted icing sugar and vanilla extract. Add milk, one tablespoon at a time, until you have a thick but spreadable consistency. Spread the icing generously over the warm rolls and scatter the chopped Oreos on top.
Notes
I really hope you give this Oreo Cinnamon Rolls recipe a go. It’s a wonderfully indulgent bake that brings together two classic treats in the most delicious way. If you do make them, I would love to hear how they turned out for you. Please leave a comment below and let me know! Happy baking, Elena.