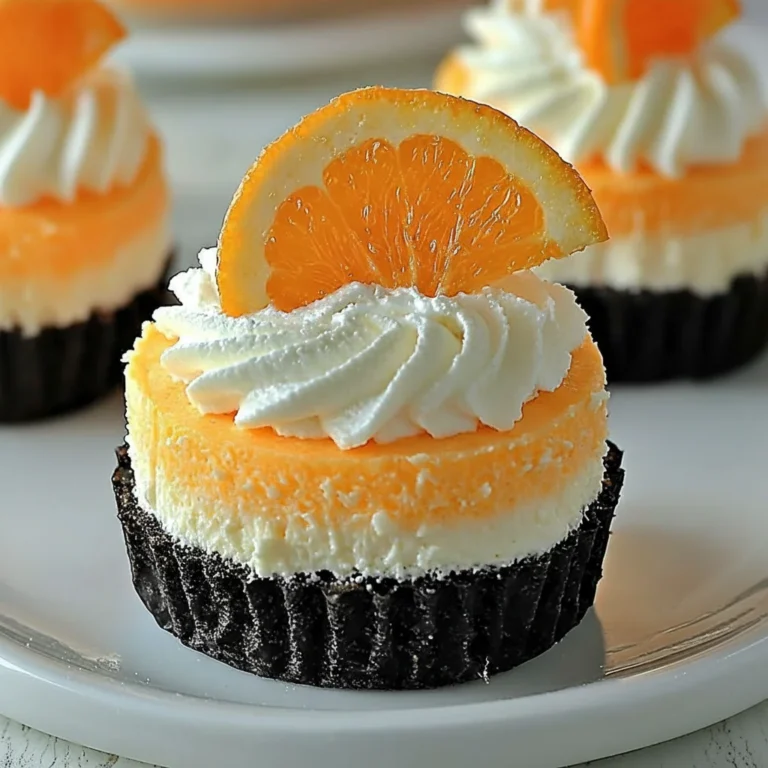
Japanese Mini Cheesecake

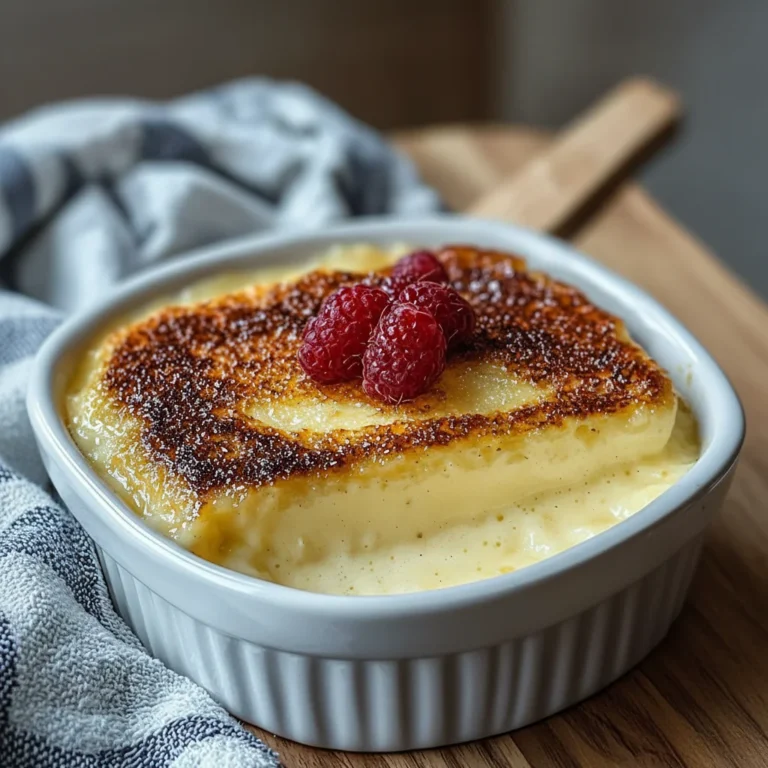
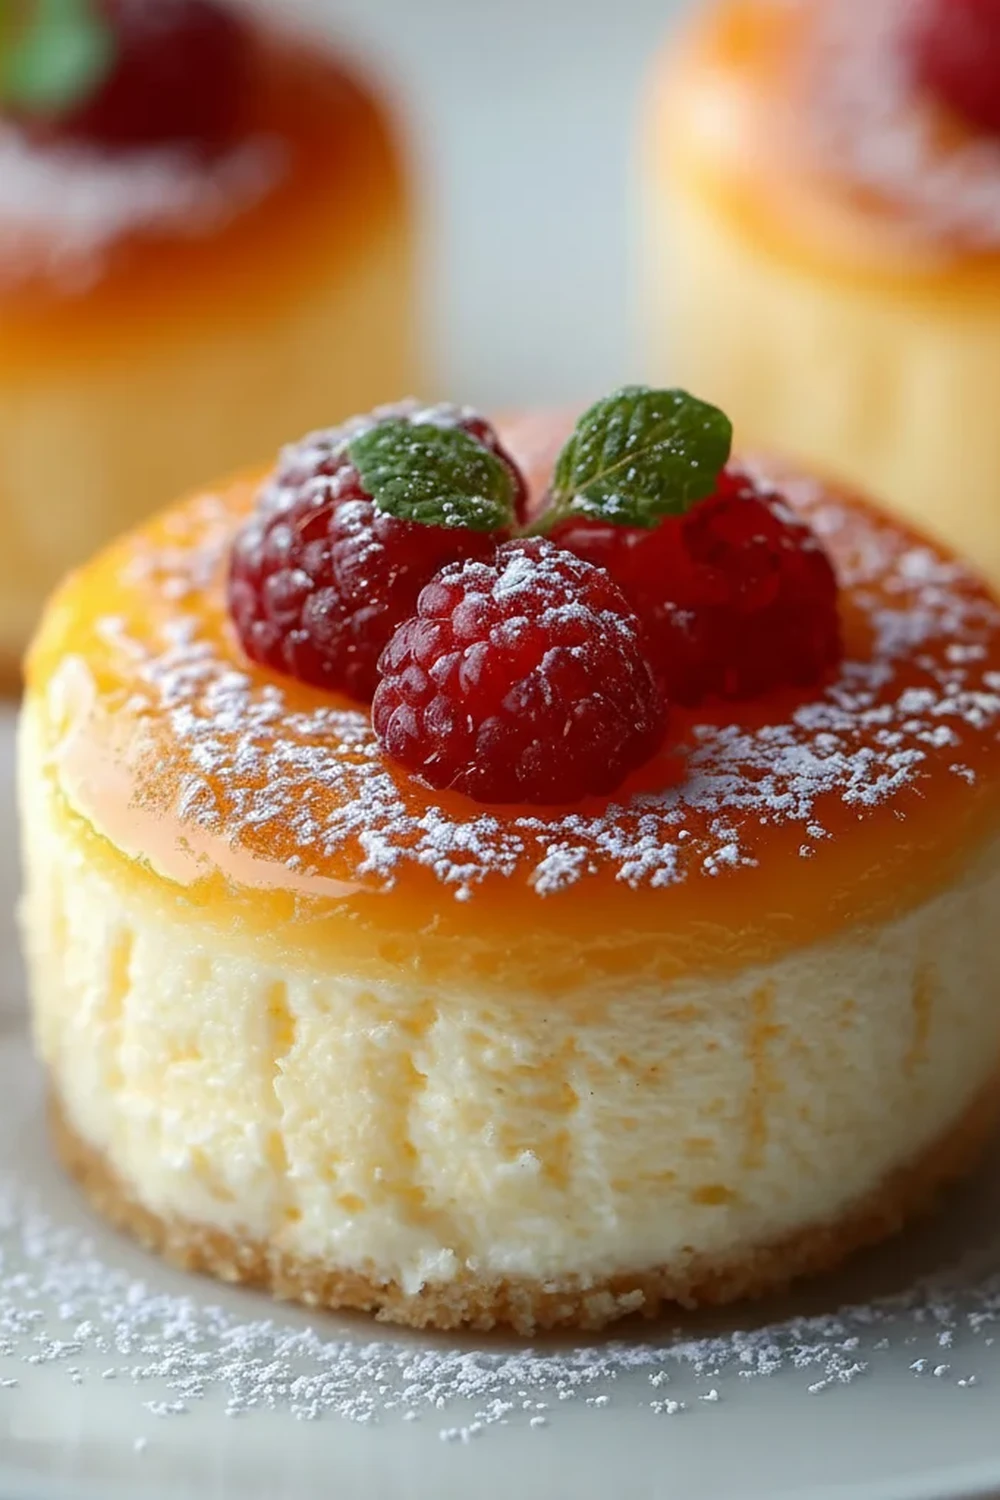
There’s something truly magical about a Japanese Cheesecake. It’s not like its dense, rich Western cousin; instead, it’s a light, airy, and wonderfully jiggly creation that hovers somewhere between a soufflé and a sponge cake. This recipe transforms that classic dessert into delightful bite-sized morsels, creating the perfect Japanese Mini Cheesecake. I’ve been making this for over 7 years, and it never disappoints; the moment you see them puff up in the oven is pure kitchen joy.
What makes these little cakes so special is their texture. They have a delicate, melt-in-the-mouth quality with a subtle, creamy tang from the cheese, balanced by a hint of lemon. They aren’t overly sweet, which makes them an elegant treat for any time of day. We love them as a light dessert after a flavourful meal, perhaps something like these Sticky Sweet Teriyaki Chicken Bowls, as they cleanse the palate beautifully.
This dessert recipe is ideal when you want to impress guests at an afternoon tea or bring something unique to a gathering. They look sophisticated but are born from simple, wholesome ingredients. Their individual size makes them easy to serve and even easier to enjoy—be warned, it’s hard to stop at just one!
Recipe Overview
This recipe guides you through creating exceptionally fluffy and light Japanese Mini Cheesecakes. The flavour is delicately sweet with a distinct but not overpowering cream cheese tang, brightened with a touch of lemon. The final texture should be cottony-soft and moist. After testing this recipe five times, I finally got the two-stage baking temperature just right to prevent cracks and achieve the perfect rise.
- Prep Time: 25 minutes
- Cook Time: 35-40 minutes
- Total Time: Approx. 2 hours (including cooling)
- Servings: 12 mini cheesecakes
- Difficulty: Medium
Why You’ll Love This Japanese Mini Cheesecake
- Sublime Texture and Flavour: The taste is a beautiful balance of creamy, tangy cheese and light sweetness, while the cloud-like texture is simply unforgettable. It’s what makes this Japanese style of cheesecake so beloved worldwide.
- Ready in Under an Hour: The active preparation and baking time comes to about 60 minutes, meaning you can have these beauties cooling on the side without spending hours in the kitchen.
- A Versatile Recipe: You can easily adapt the flavour. Add a teaspoon of matcha powder for an earthy twist, or some finely grated lemon zest for a brighter citrus note.
- Works Beautifully for Gatherings: These individual portions are brilliant for parties, picnics, or as part of a dessert table. They eliminate the need for cutting and serving a large cake.
- Family Tested: This recipe always gets compliments in my house. My youngest calls them “little cloud cakes,” and they disappear from the cooling rack almost immediately!
Ingredients You’ll Need
For the best results, it’s important to use full-fat ingredients, as they provide the richness and structure these delicate cakes need. I always use Philadelphia full-fat cream cheese because its consistency is reliable and gives a wonderfully smooth batter.
- 150g full-fat cream cheese, at room temperature
- 50g unsalted butter, cubed
- 100ml whole milk
- 3 large free-range eggs, separated
- 60g caster sugar, divided into two 30g portions
- 40g plain flour
- 15g cornflour
- 1 tsp lemon juice
- ½ tsp vanilla extract
- Pinch of salt
- Icing sugar, for dusting (optional)
Elena’s Tip: Ensure your eggs and cream cheese are truly at room temperature. Cold ingredients don’t emulsify properly, which can lead to a lumpy batter and a dense, heavy cheesecake.
How to Make Japanese Mini Cheesecake
The process for these mini cheesecakes involves two key parts: creating a smooth cheese base and folding in a light, airy meringue. The water bath is essential, so don’t be tempted to skip it!
- Prepare the Oven and Tins: Preheat your oven to 160°C (140°C fan). Line a 12-hole standard muffin tin with paper cases. Place the muffin tin inside a larger, deep-sided roasting tray. Boil a kettle of water for the water bath (bain-marie).
- Create the Cream Cheese Base: In a medium saucepan over low heat, gently melt the cream cheese, butter, and milk. Whisk continuously until the mixture is completely smooth and lump-free. Remove from the heat and allow it to cool for 5-7 minutes.
- Incorporate the Yolks and Flours: Once the cheese mixture has cooled slightly, whisk in the egg yolks one at a time, followed by the vanilla extract and lemon juice. Sift the plain flour, cornflour, and salt together into the mixture and whisk until just combined. Be careful not to over-mix. The batter should be smooth and glossy.
- Whip the Meringue: In a separate, clean bowl (preferably glass or metal), use an electric mixer to whisk the egg whites on medium speed until foamy. Gradually add one 30g portion of the caster sugar and continue to whisk until soft peaks form. Add the remaining 30g of sugar and increase the speed, whisking until firm, glossy peaks form. The meringue is ready when you can turn the bowl upside down without it sliding out.
- Fold the Mixtures Together: Gently fold one-third of the meringue into the cream cheese batter to lighten it. Then, carefully fold in the remaining meringue in two more additions. I find that using a large metal spoon or spatula in a figure-of-eight motion works best for me to avoid deflating the air you’ve just incorporated.
- Fill and Bake: Divide the batter evenly among the 12 paper cases, filling them about three-quarters full. Carefully place the roasting tray into the preheated oven. Pour the hot water from the kettle into the roasting tray until it comes about halfway up the sides of the muffin tin.
- Bake to Perfection: Bake for 20 minutes at 160°C (140°C fan). Then, without opening the oven door, reduce the temperature to 140°C (120°C fan) and bake for another 15-20 minutes, or until the cheesecakes are puffed up, pale golden on top, and a skewer inserted into the centre comes out clean.
- Cool Down Slowly: Turn the oven off completely and crack the door open slightly. Leave the cheesecakes to cool inside the oven for at least 30-40 minutes. This slow cooling process is vital to prevent them from shrinking and cracking. Afterwards, remove them from the water bath and let them cool completely on a wire rack before serving.
Tips From My Kitchen
- Temperature Control is Key: As mentioned, room temperature ingredients are non-negotiable for a smooth batter. Equally important is the slow cooling process in the oven. A sudden drop in temperature is the number one cause of a sad, sunken cheesecake.
- The Secret to Lightness: The folding technique is paramount. I learned that being too aggressive when combining the meringue and batter will knock all the air out, resulting in a dense cake. Be patient and gentle; it makes all the difference. For a visual guide, this article from Serious Eats explains the folding motion well.
- Make-Ahead Method: These cheesecakes are fantastic for making a day in advance. Their flavour and texture actually deepen and improve overnight. Just store them in the fridge and bring them to room temperature for about 20 minutes before serving.
- Storage: Store any leftover mini cheesecakes in an airtight container in the refrigerator for up to 3 days. They do not freeze well, as the texture can become watery upon thawing.
Common Mistakes to Avoid
- Over-mixing the Batter: After adding the flour, mix only until it’s just incorporated. Over-mixing develops gluten, which will make your fluffy cakes tough and dense instead.
- Incorrect Oven Temperature: An oven that’s too hot will cause the cheesecakes to rise too quickly and then crack and collapse. The two-stage baking method helps set the structure before gently cooking them through. An oven thermometer is a great investment!
- Skipping the Water Bath: The bain-marie creates a steamy, humid environment in the oven. This moisture ensures the cheesecakes bake gently and evenly, preventing them from drying out or cracking, which is crucial for achieving that signature soft, soufflé-like texture.
Delicious Variations to Try
While the classic version is wonderful, it’s fun to add your own personal touch to this bite sized dessert recipe.
- Matcha Delight: Sift 1 tablespoon of good-quality matcha powder in with the flour for a classic Japanese flavour profile with a beautiful green hue.
- Chocolate Dream: Gently fold in 50g of finely chopped dark chocolate into the final batter, or melt 30g of chocolate and drizzle it over the top before baking for a marbled effect.
- Citrus Boost: For a more pronounced citrus flavour, add the finely grated zest of one lemon or orange to the cream cheese mixture at the beginning.
What to Serve With Japanese Mini Cheesecake
These cakes are glorious on their own, but a few simple accompaniments can elevate them even further.
- Fresh Berries: A handful of fresh raspberries, strawberries, or blueberries provides a lovely tart contrast to the creamy cake.
- A Dollop of Cream: A spoonful of lightly whipped cream or tangy crème fraîche cuts through the richness beautifully.
- Drink Pairing: A cup of green tea or a light floral tea like jasmine works wonderfully. If you’re looking for something more substantial after dinner, these are a great follow-up to my Classic Shrimp Scampi Recipe.
Frequently Asked Questions
Japanese Mini Cheesecake
Ingredients
Method
- Prepare the Oven and Tins: Preheat your oven to 160°C (140°C fan). Line a 12-hole standard muffin tin with paper cases. Place the muffin tin inside a larger, deep-sided roasting tray. Boil a kettle of water for the water bath (bain-marie).
- Create the Cream Cheese Base: In a medium saucepan over low heat, gently melt the cream cheese, butter, and milk. Whisk continuously until the mixture is completely smooth and lump-free. Remove from the heat and allow it to cool for 5-7 minutes.
- Incorporate the Yolks and Flours: Once the cheese mixture has cooled slightly, whisk in the egg yolks one at a time, followed by the vanilla extract and lemon juice. Sift the plain flour, cornflour, and salt together into the mixture and whisk until just combined. Be careful not to over-mix. The batter should be smooth and glossy.
- Whip the Meringue: In a separate, clean bowl (preferably glass or metal), use an electric mixer to whisk the egg whites on medium speed until foamy. Gradually add one 30g portion of the caster sugar and continue to whisk until soft peaks form. Add the remaining 30g of sugar and increase the speed, whisking until firm, glossy peaks form. The meringue is ready when you can turn the bowl upside down without it sliding out.
- Fold the Mixtures Together: Gently fold one-third of the meringue into the cream cheese batter to lighten it. Then, carefully fold in the remaining meringue in two more additions. I find that using a large metal spoon or spatula in a figure-of-eight motion works best for me to avoid deflating the air you've just incorporated.
- Fill and Bake: Divide the batter evenly among the 12 paper cases, filling them about three-quarters full. Carefully place the roasting tray into the preheated oven. Pour the hot water from the kettle into the roasting tray until it comes about halfway up the sides of the muffin tin.
- Bake to Perfection: Bake for 20 minutes at 160°C (140°C fan). Then, without opening the oven door, reduce the temperature to 140°C (120°C fan) and bake for another 15-20 minutes, or until the cheesecakes are puffed up, pale golden on top, and a skewer inserted into the centre comes out clean.
- Cool Down Slowly: Turn the oven off completely and crack the door open slightly. Leave the cheesecakes to cool inside the oven for at least 30-40 minutes. This slow cooling process is vital to prevent them from shrinking and cracking. Afterwards, remove them from the water bath and let them cool completely on a wire rack before serving.
Notes
I hope you fall in love with these Japanese Mini Cheesecakes as much as my family and I have. They are a true delight to make and an even greater one to eat. Give them a try, and let me know how they turn out in the comments below. I’d love to hear about your experience!
Happy Baking,
Elena Rodriguez