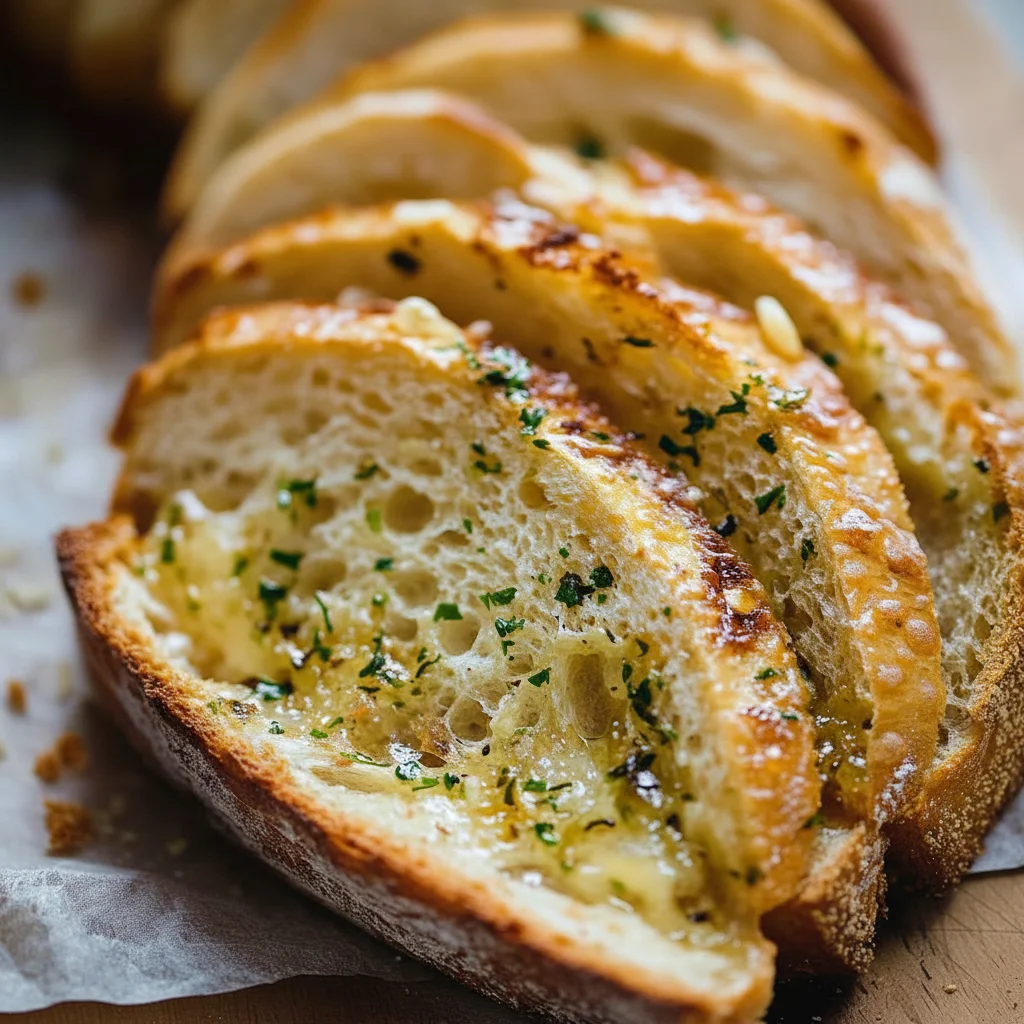
Easy Garlic Bread Sliced Bread
There’s a special kind of magic in the aroma of garlic bread baking in the oven. It’s a scent that signals comfort, warmth, and a genuinely satisfying meal ahead. For years, I reserved garlic bread for special occasions, thinking it was a bit of a fuss. That all changed when I perfected this method using a simple loaf of sliced bread. I’ve been making this garlic bread sliced bread recipe for over 6 years, and it never disappoints; it’s my go-to for turning a simple weeknight dinner into something a little more memorable.
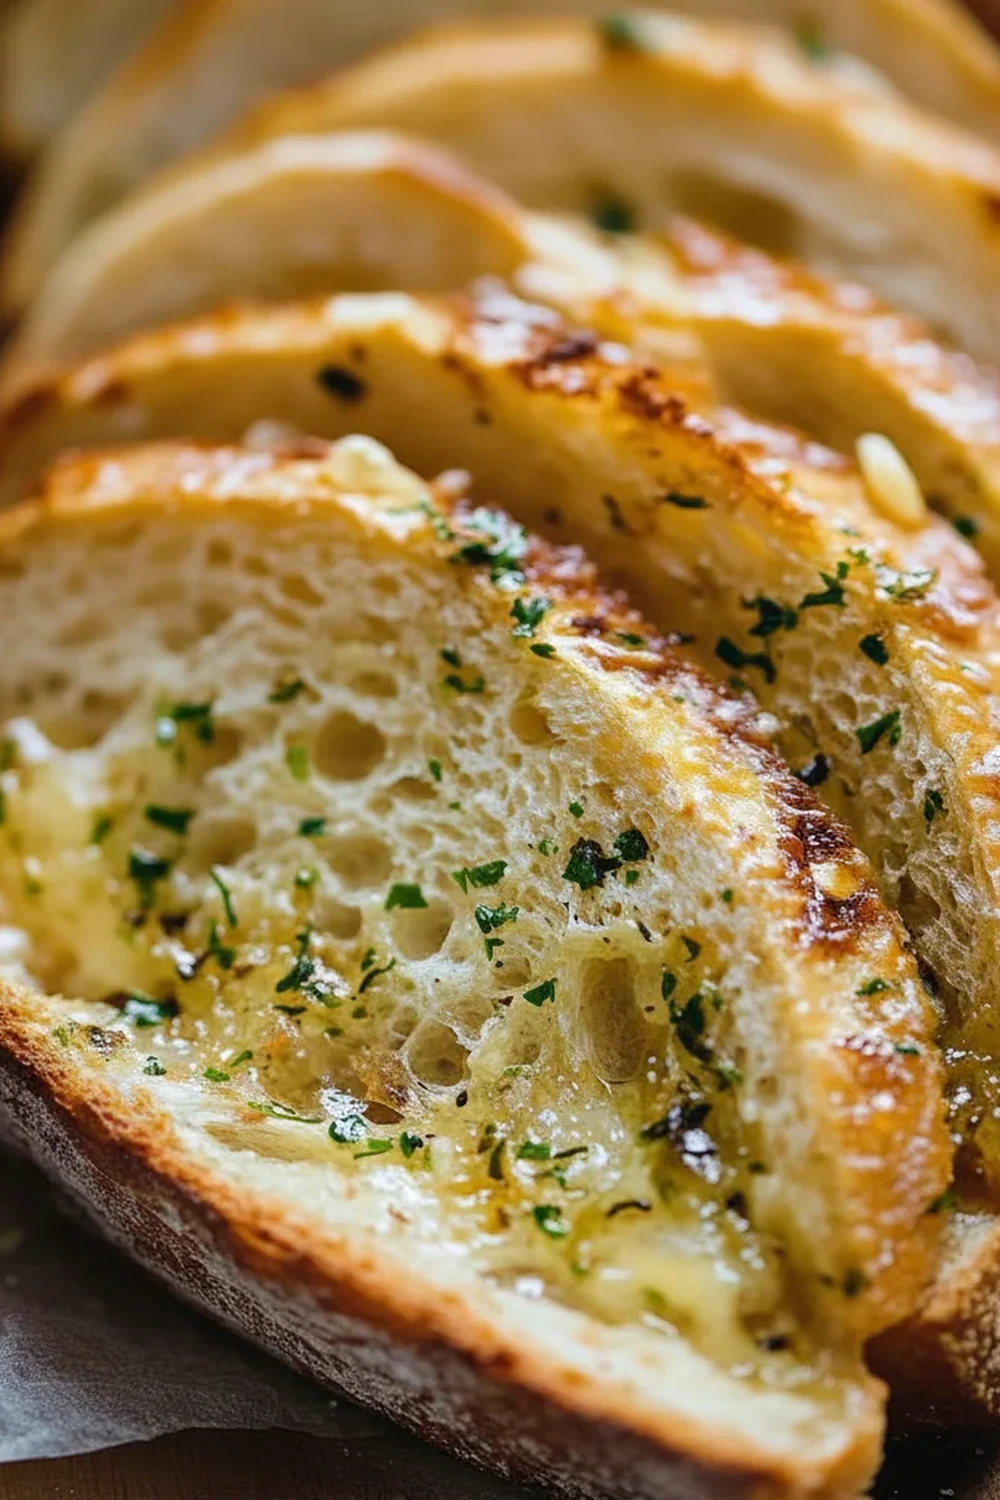
What makes this recipe stand out is its commitment to real, robust flavour without any unnecessary complications. We’re using proper butter, fresh garlic, and vibrant parsley to create a spread that soaks beautifully into each slice. The bread becomes wonderfully crisp at the edges while the centre remains soft and saturated with that rich, garlicky goodness. It’s the kind of side dish that works beautifully for soaking up the last of a bolognese sauce, accompanying a hearty soup, or just being devoured on its own, slice by glorious slice. It’s a straightforward recipe that delivers consistently delightful results every single time.
Recipe Overview
This garlic bread recipe transforms a standard loaf of sliced bread into a savoury, aromatic side dish in under 20 minutes. The flavour profile is rich and buttery, dominated by freshly minced garlic and brightened with fresh parsley. After testing various butter-to-garlic ratios, I found this balance gives a powerful garlic punch without being overwhelmingly harsh. Expect golden, toasted edges and a soft, flavour-soaked middle.
- Prep Time: 10 minutes
- Cook Time: 8-10 minutes
- Total Time: 20 minutes
- Servings: 8 slices (serves 4)
- Difficulty: Easy
Why You’ll Love This Garlic Bread Sliced Bread Recipe
- Genuine Flavour: Using fresh garlic cloves and real salted butter creates a deep, savoury taste that you just don’t get from shop-bought versions. The garlic isn’t just a hint; it’s the star.
- Ready in Under 20 Minutes: From a block of butter to a tray of hot garlic bread, this entire process is exceptionally efficient, making it ideal for a last-minute addition to dinner.
- Flexible Recipe: You can easily adapt the garlic butter. Add a sprinkle of red pepper flakes for warmth, a handful of grated Parmesan for a salty bite, or switch the parsley for chives or thyme.
- Great for Weeknight Dinners: It’s a wonderful companion for pasta nights, soup bowls, or even alongside a simple roast chicken. It elevates a standard meal with very little effort.
- Family Tested: My husband, who’s usually picky about side dishes, asked for seconds the first time I made this! Now, it’s a staple in our home and always gets compliments from guests.
Ingredients You’ll Need
The quality of your ingredients truly shines here. I always opt for a good quality salted butter, as it provides a solid flavour base. My personal preference is for a brand like Lurpak, which has a lovely creaminess. For the bread, a thick-sliced white loaf, often called a “toastie” loaf, works best as it can hold a generous amount of garlic butter without becoming flimsy.
- 8 thick slices of white bread
- 125g salted butter, softened to room temperature
- 4-5 large garlic cloves, finely minced or grated
- 2 tablespoons fresh flat-leaf parsley, finely chopped
- 1/4 teaspoon black pepper, freshly ground
- 50g Parmesan cheese, finely grated (optional)
Elena’s Tip: For the most intense garlic flavour that distributes evenly, I always grate the garlic cloves on a microplane grater. It creates a fine paste that melts seamlessly into the butter, ensuring there are no chunky, raw bits.
How to Make Garlic Bread with Sliced Bread
The process for this recipe is straightforward and focuses on getting that flavourful butter mixture just right. We’ll bake it in two stages to ensure the butter melts deep into the bread before the tops get golden and crisp.
- Preheat your oven to 180°C (160°C fan) and line a large baking tray with parchment paper.
- In a medium bowl, combine the softened salted butter, the finely minced or grated garlic, the chopped fresh parsley, and the black pepper. If you’re using Parmesan, add it in now.
- Mix everything together with a fork until it’s thoroughly combined into a smooth, fragrant paste. You should see little flecks of green parsley and garlic evenly distributed throughout the butter.
- Lay your 8 slices of bread out on the prepared baking tray. Don’t let them overlap, as this will cause them to steam rather than toast.
- Divide the garlic butter mixture evenly among the slices of bread. What works best for me is to put a dollop on each slice first, then go back and spread it right to the very edges using the back of a spoon or a butter knife.
- Place the tray in the preheated oven and bake for 5-7 minutes. This first bake is to allow the butter to melt completely and soak into the bread.
- After the initial bake, turn the oven setting to grill on a medium-high heat.
- Place the tray back under the grill for another 2-3 minutes. Watch it like a hawk during this stage! You want the edges to turn a deep golden brown and the butter to be bubbling, but it can catch and burn very quickly.
- Once beautifully golden, remove the tray from the oven. Let the garlic bread cool for a minute before serving it warm.
Tips From My Kitchen
- Temperature Control: Don’t be tempted to bake the bread at a very high temperature from the start. A moderate oven allows the butter and garlic to infuse the bread properly. The final blast under the grill is purely for texture and colour.
- The Secret Step: I learned that getting the butter to room temperature is non-negotiable. If it’s too cold, it won’t mix properly and will tear the bread when you try to spread it. If it’s melted, it will just make the bread soggy. Soft and spreadable is key.
- Make-Ahead: The garlic butter can be made up to 3 days in advance. Just store it in an airtight container in the fridge. You can even spread it on the bread, re-stack it into a “loaf,” wrap it tightly in foil, and refrigerate for up to 24 hours before baking.
- Storage: If you have any leftovers (which is rare in my house!), store them in an airtight container at room temperature for up to 2 days. Reheat in a 160°C oven for 5 minutes to restore their crispness.
Equipment You’ll Need
- Baking tray
- Parchment paper
- Medium mixing bowl
- Microplane grater or sharp knife
- Butter knife or small spatula
Common Mistakes to Avoid
- Overcrowding the pan: Placing the slices too close together traps steam, which prevents them from getting those lovely crisp edges. Always give each slice a little breathing room on the baking tray.
- Burning the Garlic: Garlic contains natural sugars that can burn quickly, especially under a grill. The initial, lower-temperature bake infuses the flavour without the risk of burning. Be very attentive during the final grilling step. If you want to learn more about the science of cooking garlic, Serious Eats has a great article on it.
- Using Thin Bread: Standard thin-sliced sandwich bread doesn’t have enough structure to hold the butter. It will likely become greasy and fall apart. A thicker-cut loaf is essential for the best texture.
Delicious Variations to Try
Once you’ve mastered the basic recipe, it’s great fun to experiment with different toppings and flavours. Here are a few variations we enjoy.
- Spicy Garlic Bread: Add 1/2 teaspoon of red pepper flakes to the butter mixture for a gentle, warming heat that cuts through the richness.
- Cheesy & Herby Version: After spreading the garlic butter, top each slice with a generous handful of grated mozzarella and a sprinkle of dried oregano before baking. The cheese gets gloriously melty and bubbly. This version reminds me of a simple, delicious Cheesy Tuna Melt Sandwich Recipe in its satisfying nature.
- Vegan Option: This recipe works wonderfully with a good quality plant-based butter block. Ensure it’s softened just like dairy butter and follow the recipe as written. The history of garlic bread is rooted in simple ingredients, making it easy to adapt.
What to Serve With This Garlic Bread Sliced Bread Recipe
This garlic bread is a versatile side that complements so many meals. It’s more than just an afterthought; it can complete the dish.
- Pasta Dishes: It’s the ultimate partner for anything with a sauce. It’s particularly good with a rich, wine-based dish like our Classic Shrimp Scampi Recipe In Minutes, as it’s perfect for mopping up every last drop of the delicious sauce.
- Hearty Soups and Stews: Serve it alongside a lentil soup, a classic minestrone, or a beef stew for dipping. The crisp toast holds up well against the liquid.
- Wine Pairing: A crisp, dry white wine like a Sauvignon Blanc or Pinot Grigio cuts through the richness of the butter beautifully.
Frequently Asked Questions
Garlic Bread Sliced Bread Recipe
Ingredients
Method
- Preheat your oven to 180°C (160°C fan) and line a large baking tray with parchment paper.
- In a medium bowl, combine the softened salted butter, the finely minced or grated garlic, the chopped fresh parsley, and the black pepper. If you're using Parmesan, add it in now.
- Mix everything together with a fork until it's thoroughly combined into a smooth, fragrant paste. You should see little flecks of green parsley and garlic evenly distributed throughout the butter.
- Lay your 8 slices of bread out on the prepared baking tray. Don't let them overlap, as this will cause them to steam rather than toast.
- Divide the garlic butter mixture evenly among the slices of bread. What works best for me is to put a dollop on each slice first, then go back and spread it right to the very edges using the back of a spoon or a butter knife.
- Place the tray in the preheated oven and bake for 5-7 minutes. This first bake is to allow the butter to melt completely and soak into the bread.
- After the initial bake, turn the oven setting to grill on a medium-high heat.
- Place the tray back under the grill for another 2-3 minutes. Watch it like a hawk during this stage! You want the edges to turn a deep golden brown and the butter to be bubbling, but it can catch and burn very quickly.
- Once beautifully golden, remove the tray from the oven. Let the garlic bread cool for a minute before serving it warm.
Notes
I truly hope you give this garlic bread sliced bread recipe a try. It’s a small thing that can bring so much pleasure to the dinner table, and it proves that you don’t need fancy ingredients or complicated steps to make something genuinely satisfying. Let me know how it turns out for you in the comments below – I love hearing about your kitchen creations!